The single most common question I receive from photographers planning a Uyuni trip is: “Should I go in the wet season or the dry season?” It seems like it should have a simple answer. It does not — because the two seasons produce entirely different photographs, demand different techniques, and suit different photographic priorities. Choosing the wrong one is not a disaster, but it means missing the specific shot you came for.
This guide is a direct, honest comparison. Both seasons are extraordinary. Both have limitations. By the end of this article, you will know exactly which one is right for your next trip — and why.
The Two Seasons at a Glance
The Bolivian altiplano has two distinct seasons, both sharply defined. The dry season runs from approximately May through October, with June, July, and August as the core months. Skies are clear, rain is essentially absent, temperatures are extreme (cold nights, warm afternoons), and the salt flat is completely dry. The wet season runs from November through March, peaking in January and February. Rain falls most afternoons, clouds develop daily, and the flat accumulates a layer of water that can range from a millimetre to 30 centimetres in depth depending on rainfall.
| Factor | Dry Season (May–Oct) | Wet Season (Nov–Mar) |
|---|---|---|
| Mirror effect | No | Yes — Jan–Feb peak |
| Hexagonal crust | Yes — clearly visible | Submerged under water |
| Milky Way photography | Excellent — clear skies | Unreliable — cloud cover |
| Forced perspective shots | Best — hard, flat light | Possible but reflections interfere |
| Flamingos at Laguna Colorada | Peak Jul–Sep (nesting season) | Lower numbers, higher water colour |
| Sky quality for wide-angle | Intense blue, few clouds | Dramatic clouds, variable |
| Wind conditions | Low (mornings) | Higher (afternoons) |
| Night temperatures | -10°C to -22°C | -2°C to -10°C |
| Tourist crowds | Moderate | High (Jan–Feb) |
| Road conditions | Excellent | Variable — some roads flood |
What You Can Photograph in the Wet Season
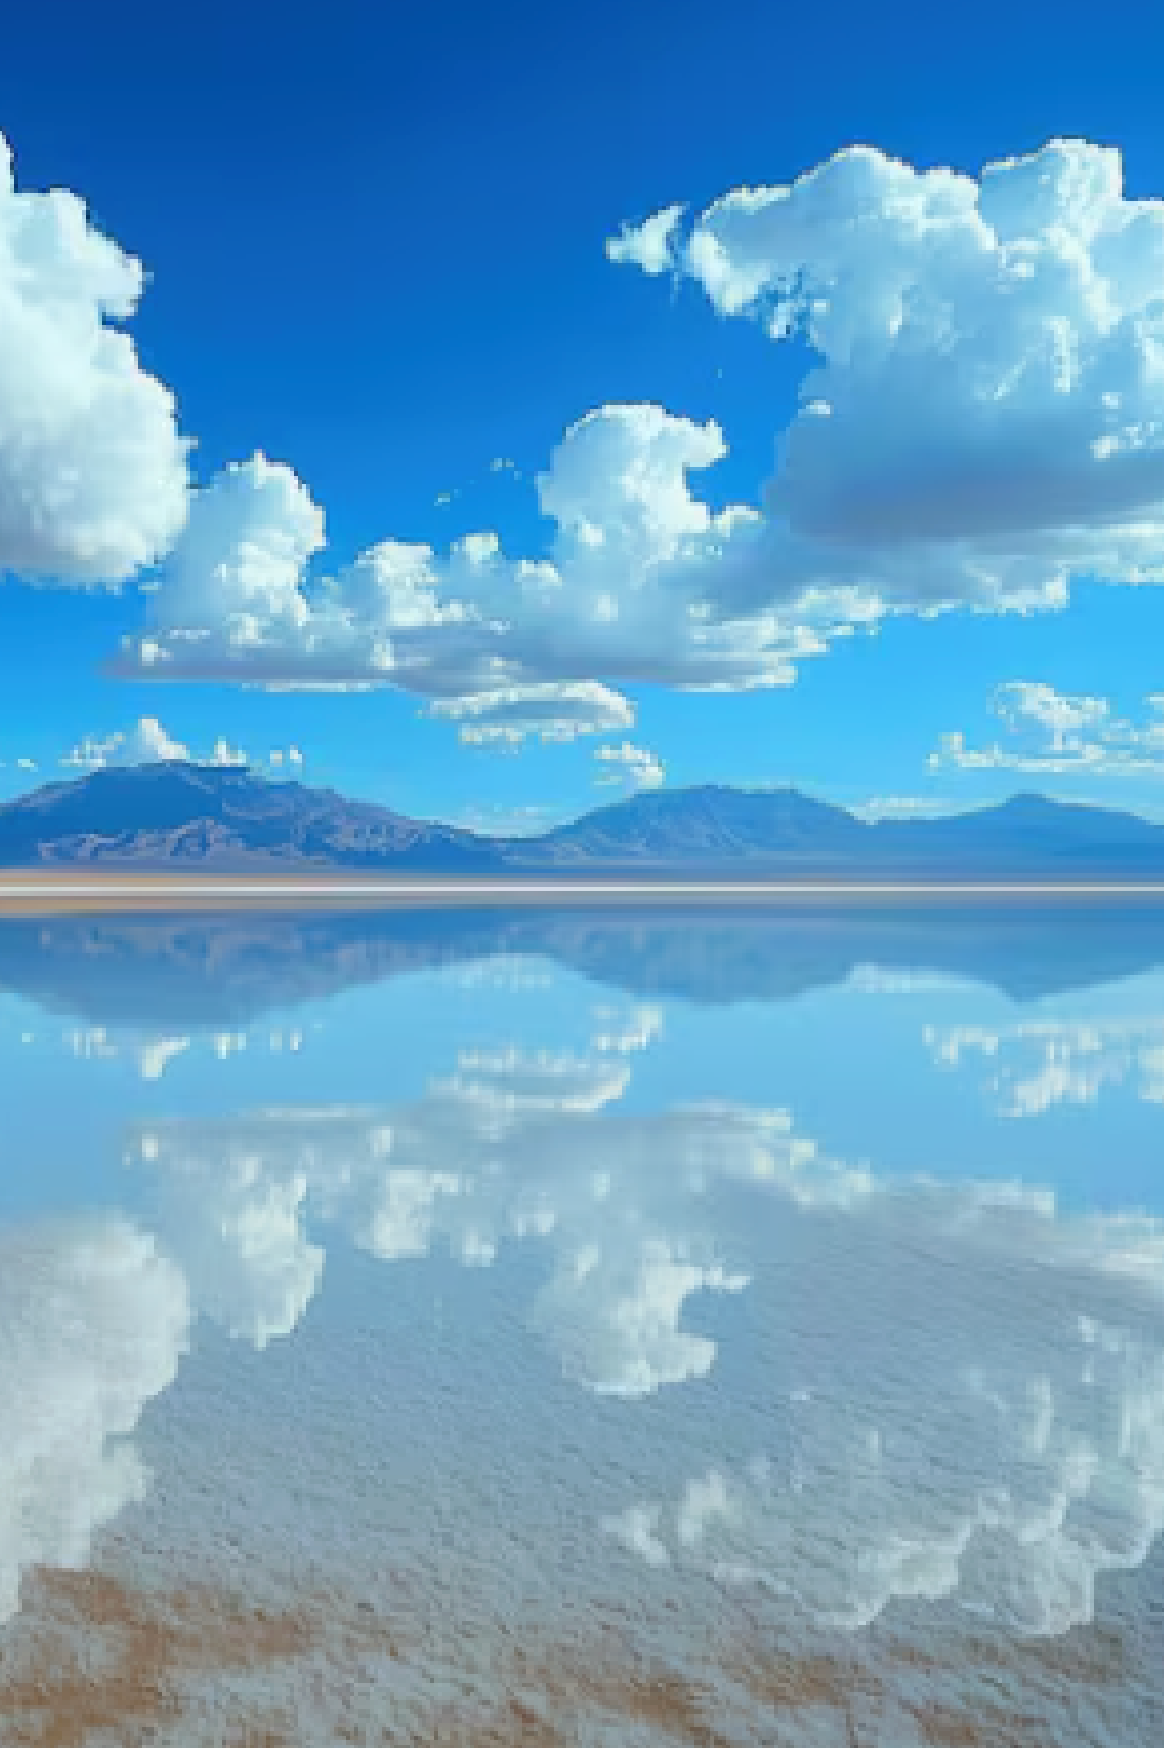
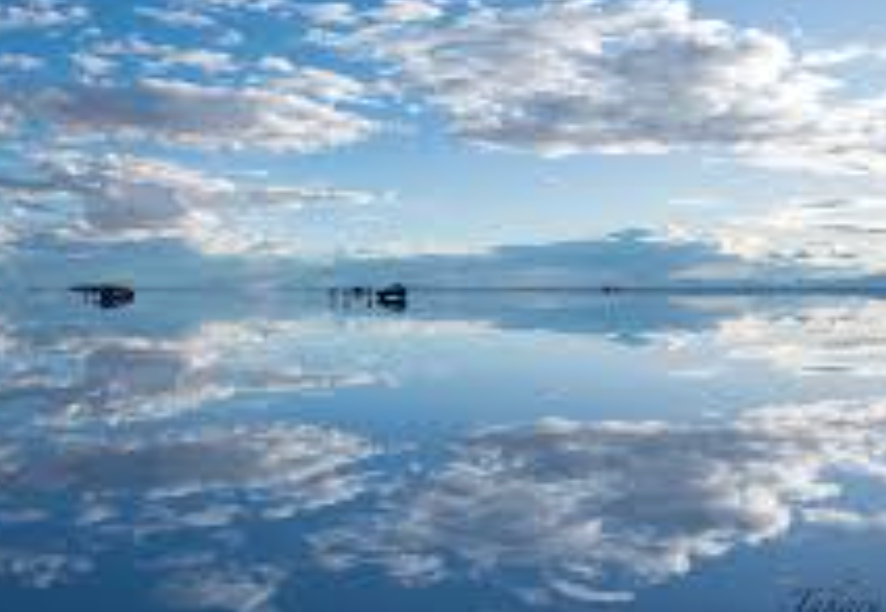
The wet season is the one that most people see in their social media feeds — the flamingo standing in a perfect upside-down sky, the jeep tracks vanishing into an infinite mirror, the person walking through a reflected sunset. These images are almost exclusively wet-season shots, and they require specific conditions to achieve.
The mirror effect — the signature wet-season shot
The mirror effect appears when a thin layer of water (3–30mm) accumulates on the salt flat and wind speed drops below roughly 10 km/h. These conditions coexist most reliably at dawn and in the early morning — overnight rain settles the flat, and wind is typically at its lowest in the hours immediately after sunrise. January and February represent peak mirror-effect conditions because rainfall is most consistent and the water layer is most frequently present.
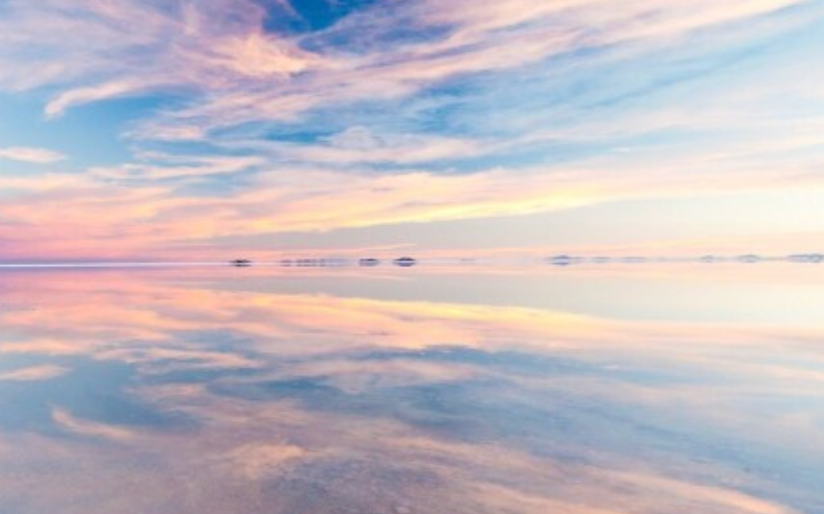
What the mirror effect looks like depends entirely on the sky: a grey overcast day produces a flat, muted reflection that adds little. A sky with dramatic cumulus clouds or a sunrise saturated in gold and rose produces a reflection that doubles every colour and makes the flat look like a portal to another dimension. Chase the dramatic sky — not just any water on the flat.
The flooded flat as a studio
When water depth increases to 5–30cm, the flat becomes a unique studio environment. The shallow water is warm enough to stand in during the day, warm enough to wade through at dawn, and produces such clear reflections that a person standing in it appears to be floating in the sky. This is the environment for the most striking forced-perspective shots: a person “standing on” a cloud, a couple reflected symmetrically in a pink-sky mirror, silhouettes walking through a field of reflected stars.
Wet-season cloud photography
The enormous cumulus and cumulonimbus clouds that develop over the altiplano in the wet season are extraordinary photographic subjects in their own right. The combination of a flat horizon, a wide blue sky, and towering cloud formations that build from nothing over two or three hours produces landscapes of dramatic scale that are impossible in the dry season’s clear blue skies. Wide-angle lenses of 16–24mm are ideal for capturing the full vertical extent of these formations.
What You Can Photograph in the Dry Season
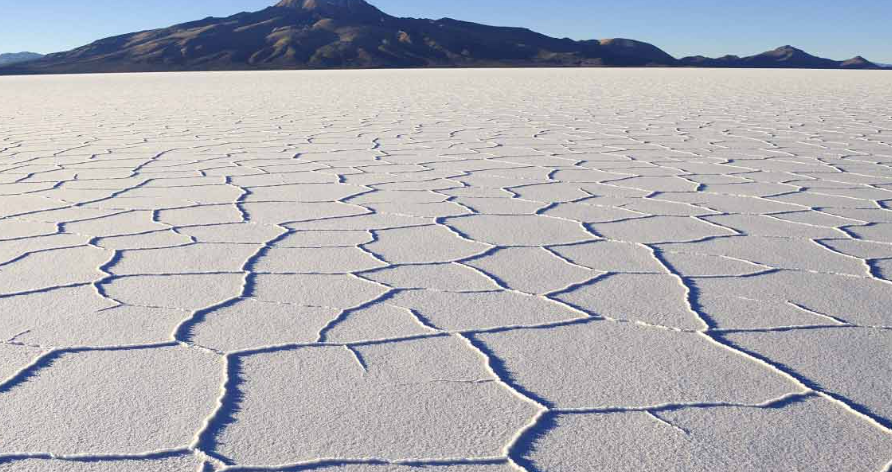
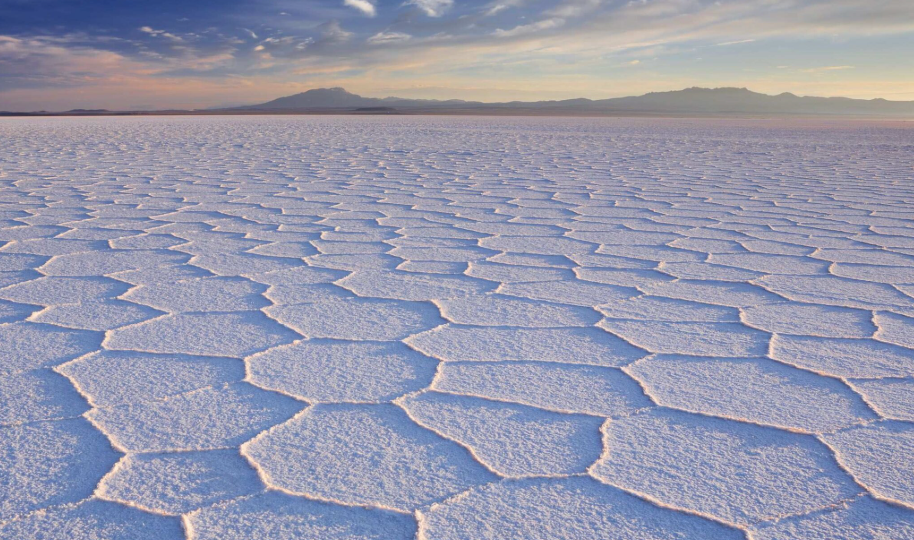
The dry season is a completely different visual experience. No mirror, no water, no reflections — instead, one of the most geometrically striking landscapes on the planet: a perfectly flat white surface divided into hexagonal polygon tiles by the salt crust, stretching to the horizon in every direction, under a sky of intense cobalt blue. And after dark, the Milky Way.
The hexagonal salt crust
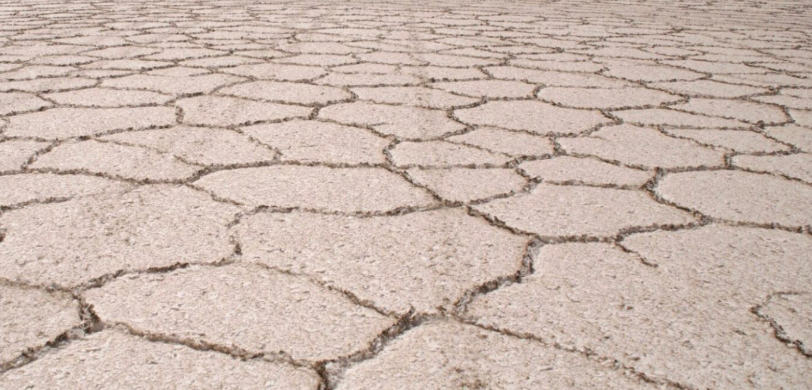
The hexagonal polygons are formed by thermal expansion and contraction cycles in the salt — the flat heats and cools repeatedly across seasons, and the salt crystallises into these repeating geometric shapes. In the dry season they are exposed and clearly defined, with the raised edges casting shadows in the morning and afternoon light. The result is a natural leading-line system that draws the eye across the frame in every direction from any camera position.
For maximum impact: get low (5–10cm above the surface), use your widest angle lens (14–16mm), and position your subject at the vanishing point of the hexagon grid. Shoot at the golden hours when the low sun angle emphasises the polygon edges with shadow. Avoid midday when the overhead sun flattens the texture completely.
Forced perspective photography
The dry salt flat, without any water to introduce scale cues, is the single best location on Earth for forced perspective photography. The total absence of visual reference points — no trees, no hills, no objects of known size — makes it impossible for the human brain to calculate distance or scale from a two-dimensional image. A toy dinosaur placed 2 metres from the camera and a person placed 20 metres away are indistinguishable in scale if both are in the same sharp focus at f/16.
The dry-season mid-morning light (9:00–11:00 a.m.) is the best time for forced perspective — the light is hard and directional, shadows are short, and both near and far subjects are lit identically, which is essential for the illusion to work. The wet season has water in the frame and shadows from the water ripples that reveal the scale relationship.
Milky Way and star photography
Clear dry-season nights produce Milky Way conditions that rival the best dark-sky sites anywhere in the world. The November-to-April wet season makes astrophotography essentially unreliable — cloud cover develops most nights, and when it does clear, the remaining humidity produces poor atmospheric seeing compared to the crystal-clear dry months. If the Milky Way is on your list, the dry season is non-negotiable.
| Shot Type | Best Season | Why |
|---|---|---|
| Mirror effect reflection | Wet (Jan–Feb peak) | Requires water layer on flat |
| Flamingos in red water (Laguna Colorada) | Dry (Jul–Sep peak) | Highest bird counts during nesting season; calmer mornings |
| Hexagonal crust geometry | Dry (any month) | Water submerges the pattern in wet season |
| Forced perspective | Dry (mid-morning) | Dry crust shows no water scale cues; hard light reduces shadows |
| Milky Way / star photography | Dry (May–Oct, new moon) | Wet season cloud cover makes astro unreliable |
| Dramatic cloud formations | Wet (Dec–Mar) | Cumulus and cumulonimbus develop daily over altiplano |
| Sunrise colour reflection | Wet (Nov–Mar) | Requires water on flat to double the sky colour |
| Star trails | Dry (Jun–Aug) | Requires 2–3 clear hours; wet season rarely provides this |
| Wide blue sky landscapes | Dry (May–Oct) | Clear skies all day; no cloud interference |
| Silhouette photography | Both (golden hours) | Works equally well in both seasons at sunrise/sunset |
Wildlife and Flamingos: Season Comparison
While the Salar de Uyuni itself has few resident flamingos, the Eduardo Avaroa National Reserve to the south — which includes Laguna Colorada — has substantial flamingo populations year-round. The seasonal variation in flamingo numbers at Laguna Colorada is significant and affects the quality of wildlife photography significantly.
The dry season (July–September specifically) is the nesting and courtship period for the James’s flamingo, the rarest of the three Andean species. Counts peak at 10,000–30,000 individuals during this window, and courtship display behaviours are visible daily. The mornings are calm, allowing for long-exposure reflection shots in the red water with flamingo silhouettes.
The wet season sees lower flamingo concentrations at Laguna Colorada as birds disperse to alternative feeding sites across the altiplano. However, the red water colour is at its most intense, and the combination of vivid water and even a moderate number of flamingos can produce extraordinary images. The trade-off is higher wind in the afternoons.
Crowd Levels, Cost, and Practical Logistics by Season
Beyond the photography considerations, there are practical differences between the seasons that affect how enjoyable the trip is and how much control you have over your shooting conditions.
Crowd levels
The wet season — particularly January and February — is the busiest period at Uyuni. The mirror effect has become one of the most photographed experiences in South America, and the January peak can see 200+ tour jeeps on the flat at the same time. Managing other groups walking through your long-exposure frames at sunrise is a genuine challenge. Early arrival (before 5 a.m.) helps, but you will not have the flat to yourself.
The dry season, particularly May and June before South American school holidays begin, is significantly quieter. You can find yourself with a kilometre of open flat in every direction and no other vehicles visible. For photographers who want creative control and patience, the shoulder dry-season months offer the best combination of quality conditions and solitude.
Cost comparison
| Item | Dry Season (May–Oct) | Wet Season (Nov–Mar) | Notes |
|---|---|---|---|
| 1-day tour price | $25–$45 USD | $35–$60 USD | Peak wet-season demand pushes prices up |
| 3-day tour price | $80–$130 USD | $100–$160 USD | Same route, higher demand pricing Jan–Feb |
| Private photography tour | $200–$400 USD | $250–$450 USD | Both seasons similar for private bookings |
| Accommodation in Uyuni | $15–$50/night | $20–$70/night | Book 2–3 months ahead for Jan–Feb |
| Flight LPB–UYU | $80–$150 USD | $100–$200 USD | Variable; dry season shoulder months cheaper |
| Overall budget/day | $60–$100 USD total | $80–$130 USD total | Including tours, accommodation, food |
Weather risk and planning
The dry season (May–October) carries almost zero weather risk. Rain is essentially absent, skies are reliably clear, and the only variable is wind speed on the flat (low in mornings, higher in afternoons). Planning is straightforward: choose your moon phase for astro photography and book around it.
The wet season carries weather risk. Rainfall is inconsistent — some years deliver perfect mirror-effect conditions for weeks; others deliver overcast skies and deep water that make jeep access difficult. The mirror effect requires specific conditions (shallow water, calm wind, colourful sky) that do not always align. January and February have the highest probability of mirror-effect conditions but also the highest probability of afternoon cloud cover ruining the sunset window. Build flexibility into your wet-season itinerary — book changeable-date tours, and plan for at least 3 days on or near the flat to maximise the chances of catching a good morning.
Milky Way photography at Salar de Uyuni — complete guide
Moon phase planning, astrophotography settings, and the dry crust reflection technique.
Which Season Should You Choose? A Decision Framework
Here is the direct answer, organised by what you most want to shoot:
| Your Primary Photography Goal | Choose |
|---|---|
| The mirror effect — reflected sky, symmetry | Wet season — January or February |
| Milky Way and astrophotography | Dry season — July or August, new moon |
| Flamingos at Laguna Colorada (best numbers) | Dry season — July or September |
| Flamingos + vivid red water (best colour) | Wet season — November or December |
| Forced perspective and geometric crust shots | Dry season — any month |
| Dramatic cloud formations and sky | Wet season — December to February |
| First-time visit, want maximum variety | Dry season (May–September) — more predictable, more shot types |
| Doing both mirror effect AND Milky Way | October or April transition months — possible but not peak for either |
| Crowds bother you | Dry season — May or June for least crowds |
| Budget is a priority | Dry season — May or June for lowest prices |
If you can only go once and you are not sure which type of photography you prefer, my honest recommendation is dry season, July. The combination of world-class astrophotography, flamingo peak season at Laguna Colorada, excellent hexagonal crust conditions, and relatively low crowds makes July the most complete photography experience that Uyuni and the Bolivian altiplano offer. The mirror effect is the more famous shot — but it is also the more variable one, and a dry-season July visit with clear skies, peak flamingos, and the Milky Way above a perfectly geometric salt flat is an experience that more than justifies the absence of water.
What to Pack for Each Season: A Practical Checklist
The packing requirements for a wet-season mirror-effect trip and a dry-season astrophotography trip are significantly different. Bringing the wrong gear — or forgetting critical items — affects both your comfort and the quality of your shots. Here is a direct comparison.
| Item | Dry Season Need | Wet Season Need |
|---|---|---|
| Thermal base layers | Essential — nights to -22°C | Useful — nights to -10°C |
| Down jacket (-20°C rated) | Essential | Recommended |
| Glove liners (touchscreen compatible) | Essential for night shooting | Useful for pre-dawn |
| Waterproof boots | Not critical — flat is dry | Essential — you will wade through water |
| Gaiters | Optional (dust protection) | Essential — water splashes onto lower legs |
| Tripod (carbon fibre preferred) | Essential for astro | Essential for mirror effect at dawn |
| Remote shutter release / intervalometer | Essential for star trails | Useful for long exposures at dawn |
| ND filters (3-stop, 6-stop) | Less needed | Very useful — bright wet-season light |
| Polarising filter | Very useful (cuts haze) | Useful (cuts water surface glare) |
| Extra batteries (×3 minimum) | Essential — cold kills charge fast | Recommended — cold at dawn |
| Dry bag / waterproof bag liner | Less critical | Essential — gear gets wet in shallow flat |
| UV sunscreen SPF 50+ | Essential year-round | Essential year-round |
| Hand warmers (chemical) | Highly recommended | Optional |
| Head torch with red mode | Essential for night navigation | Useful for pre-dawn setup |
One item that both seasons share,
that no packing list mentions enough: a dedicated sensor cleaning kit. The fine salt dust of the dry season and the microscopic salt spray of the wet season both settle on your camera sensor, particularly during lens changes. A rocket blower and a clean sensor brush are essential. Pack them in a sealed zip-lock bag so they are not themselves contaminated by the salt environment before use.
For wet-season trips specifically: bring a second set of base layers in a sealed dry bag. If you go in for the waist-deep shots (standing in 20cm of water for a low reflection) your lower half will be wet for the rest of the morning. Having dry clothes to change into immediately after the session prevents the kind of sustained cold that turns uncomfortable into dangerous at 3,600 metres.
How to photograph flamingos at Laguna Colorada
The best wildlife photography destination in Bolivia — and why the dry season gives you the best flamingo counts.
Tips for Getting the Most From Either Season
Whichever season you choose, a handful of universal principles separate good Uyuni photography from great Uyuni photography. First: always arrive the day before your main shoot. A full day on the flat before your target morning lets you scout the best water depth zones (wet season), find the cleanest undisturbed crust sections (dry season), and understand the local light before the shot that matters. Second: stay at least two nights in Uyuni town. One dawn session is rarely enough — conditions change dramatically from morning to morning, and the second morning almost always produces better results than the first because you know exactly where to be and what to expect.
Third, and most importantly: talk to your guide before departure. Local guides at Uyuni check water level and wind forecast information that is not available on any international weather app. A guide who has been on the flat every morning for ten years knows whether Tuesday’s dawn will be worth the 4 a.m. alarm or whether Wednesday looks more promising. That local knowledge is worth more than any camera setting or composition technique in this guide. Use it.
The Salar de Uyuni rewards the patient and the prepared in equal measure. A single extraordinary morning — wet or dry — is all it takes to understand why photographers return here again and again, across seasons and across years, always finding something they have not seen before.
Conclusion: Two Seasons, Two Entirely Different Photographs
The most important thing I can tell you about choosing between wet and dry season at Uyuni is this: neither choice is wrong. Both seasons produce images that will stop people in their tracks when you post them. The wet season gives you a world that looks impossible — a mirror sky, a reflected reality, a landscape that blurs the boundary between earth and atmosphere. The dry season gives you clarity — a precise geometric world of salt polygons, intense blue skies, and a night sky of startling depth and detail.
How to photograph the Salar de Uyuni mirror effect — complete guide
Camera settings, best timing, and composition techniques for the wet-season mirror-effect shot.
What changes the quality of your experience more than the season is your preparation. The photographer who understands the light, arrives before dawn, has the right settings dialled in, and waits patiently for the right cloud or the right calm — that photographer comes home with extraordinary images in either season. The one who shows up at 10 a.m. in perfect conditions and takes 200 identical shots from standing height goes home with technically correct documentation.
This guide is part of the Bolivia & Salt Flats Photography series here on Uncover the Andes. The companion articles — the full mirror effect guide, the Milky Way photography deep-dive, the Laguna Colorada flamingo guide, and the La Paz complete travel guide — are all live and linked throughout this page. Keep exploring. There is always another shot worth the altitude.