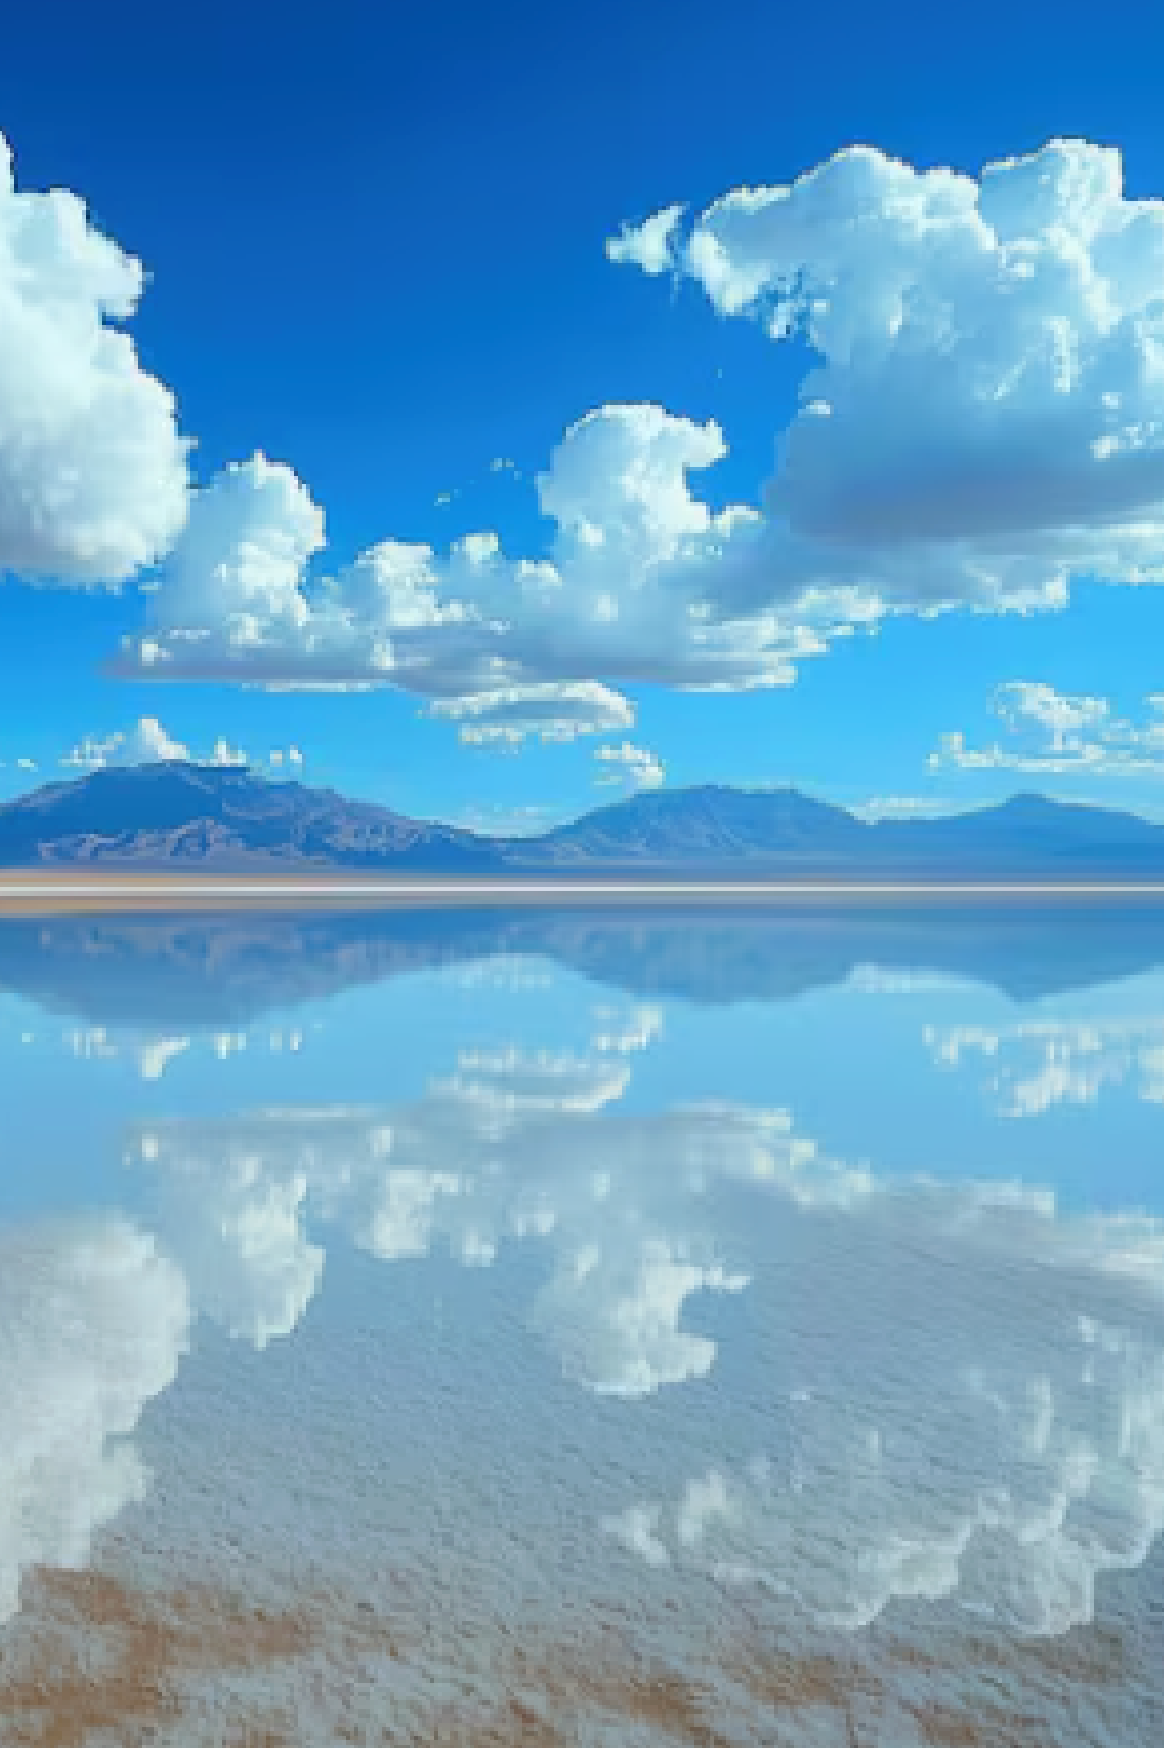

There is one image that stops every photographer mid-scroll: a pair of flamingos suspended in a perfect upside-down sky, standing on what looks like liquid mercury stretching to the horizon. That image was taken at the Salar de Uyuni, the world’s largest salt flat, sitting at 3,656 metres above sea level in southwestern Bolivia. And while the mirror effect looks almost supernatural, it is entirely reproducible — if you know exactly when to go, how to compose the shot, and what settings to dial in. This guide covers all of it.
I have been to Uyuni twice: once during the dry season, when the hexagonal salt crust stretches endlessly under a blazing sun, and once during the wet season, when a thin layer of water transforms the flat into the largest mirror on Earth. The wet season is when the iconic reflection shots happen, and the wet season is what most of this guide is about. But dry-season Uyuni offers its own extraordinary geometry, and I cover that too.
Whether you are shooting with a full-frame mirrorless, a crop-sensor camera, or even a recent smartphone, this guide gives you the knowledge to come back with shots you will be proud of.
Understanding the Mirror Effect: What It Is and Why Timing Is Everything
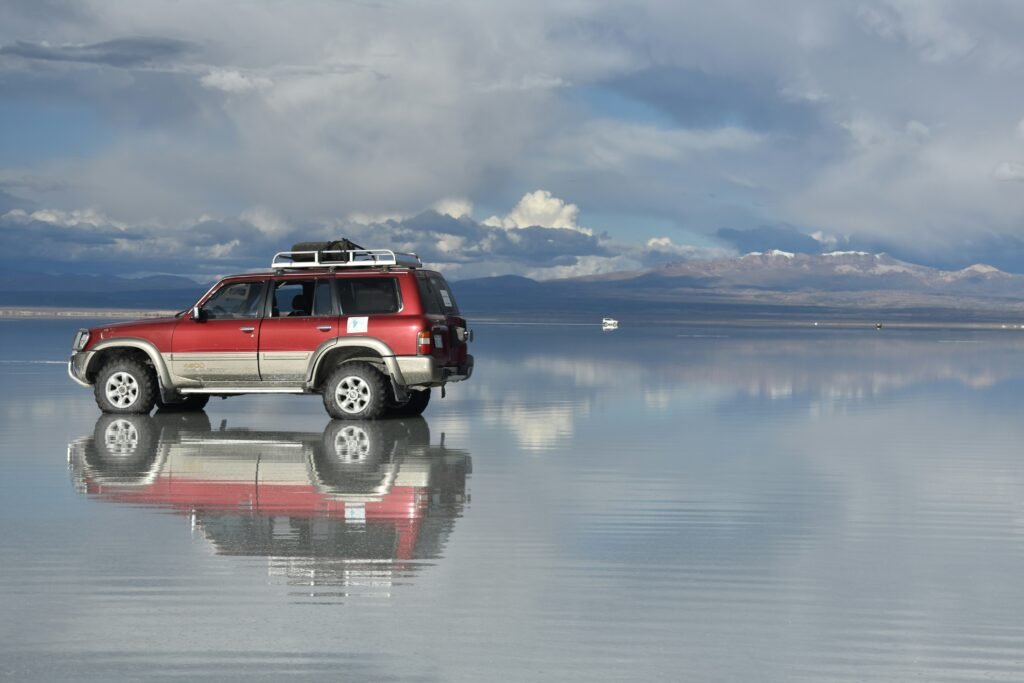
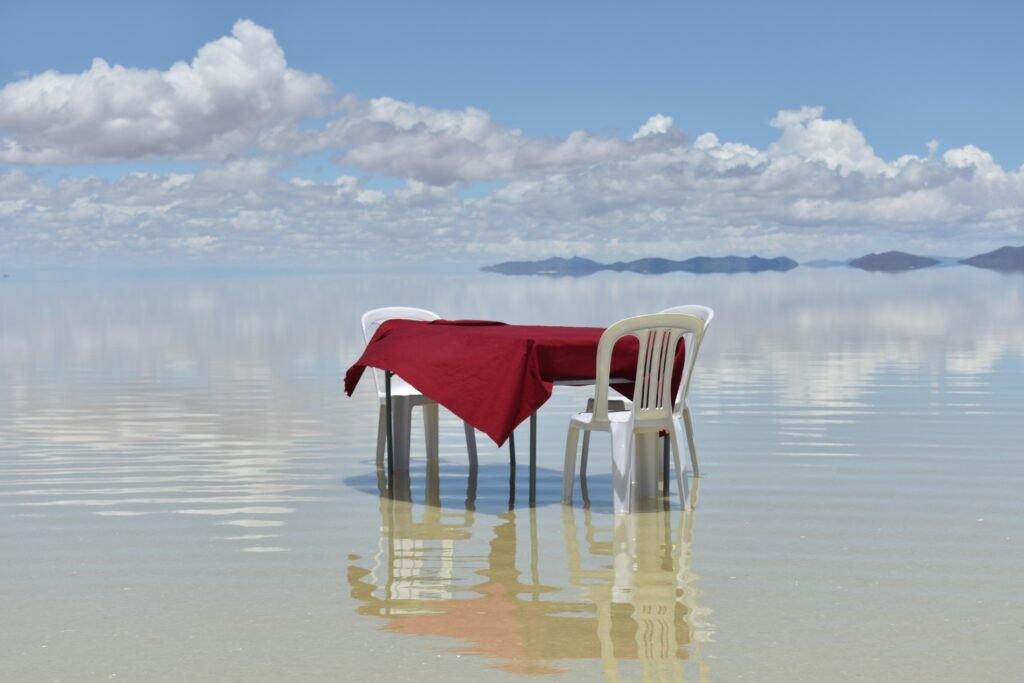
The mirror effect on the Salar de Uyuni is not a permanent feature. It appears during the Bolivian rainy season, which runs from roughly November through March, with peak conditions in January and February. During this period, rainfall accumulates on the flat surface and creates a shallow layer of water — sometimes just a centimetre or two deep — that is still enough to produce a perfect reflection. The lack of wind and the absolute flatness of the salt (the elevation variation across the entire 10,582 km² flat is less than one metre) mean that the water surface becomes a flawless mirror.
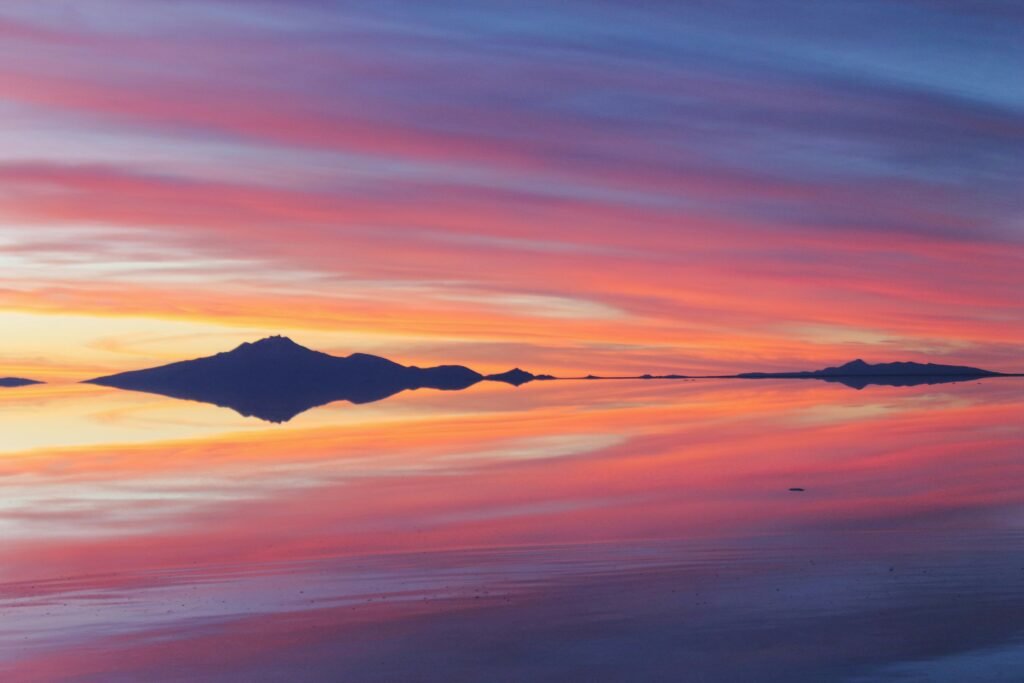
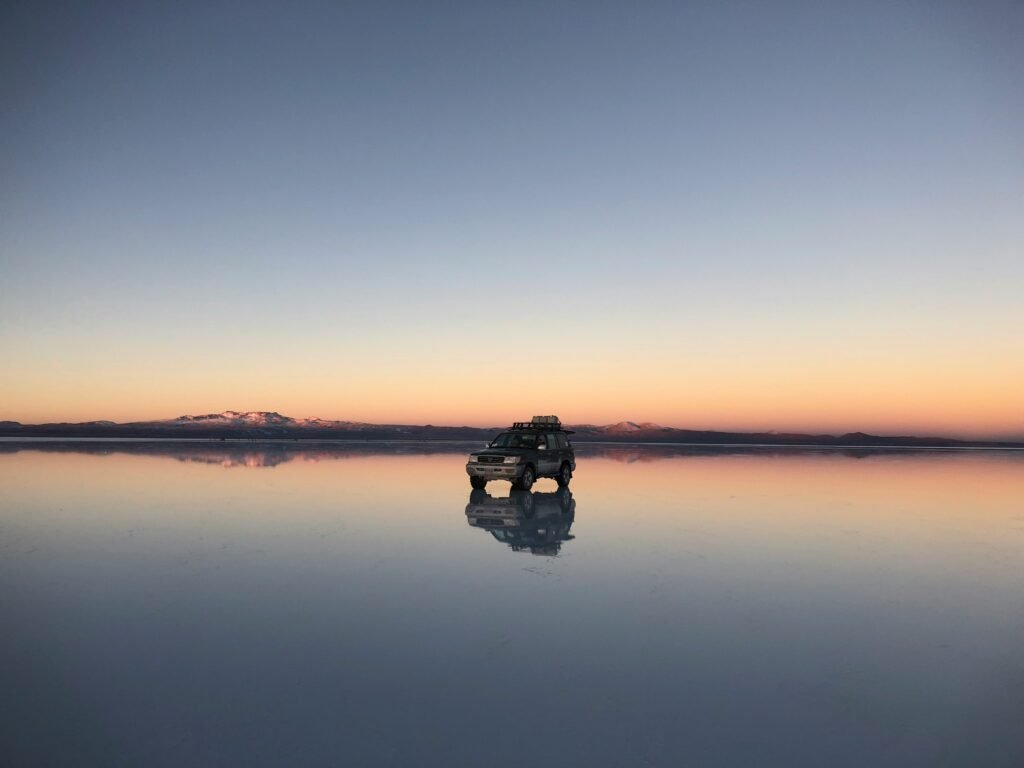
The reflection is most intense at two specific moments each day: just before and after sunrise, and the hour before sunset. At these times, the low angle of the sun paints the sky in gold, pink, and violet, and the reflection doubles every colour. Midday light is harsh, flat, and unflattering — the sky turns white, the reflection washes out, and your shots look like overexposed documentation rather than art.
The dry season (May through October) has no water layer, so no mirror effect. What it offers instead is the famous hexagonal crust patterns — a geometric grid of salt polygons that creates strong leading lines and a unique landscape unlike anywhere else on Earth. This is also the clearest season for star photography, since the lack of humidity means the Milky Way appears with brutal clarity directly above one of the darkest places in South America.
The Seasons
| Season | Period | Mirror Effect | Sky/Light Quality | Crowds | Best For |
|---|---|---|---|---|---|
| Wet Season | Nov–Mar | Yes — peak Jan–Feb | Dramatic clouds and colour | Higher (Jan–Feb peak) | Reflection shots, flamingos, surreal skies |
| Transition | Apr & Oct/Nov | Possible in Apr | Variable | Lower | Landscape geometry + possible reflection |
| Dry Season | May–Oct | No | Intense blue skies, harsh noon | Moderate | Hexagonal crust, Milky Way, wide-angle landscapes |
Best Time of Day to Shoot: The Four Golden Windows
Professional photographers who make the Uyuni pilgrimage structure their entire day around four specific windows. Miss them and you miss the shot. Plan around them and even a single day on the flats can produce career-defining images.
Window 1: Pre-dawn arrival (3:30–5:30 a.m.)
Most tour jeeps leave Uyuni town at around 4 a.m. and reach the main flat by 4:45. If you are there during the wet season and conditions are right, the first light of astronomical twilight (when the sky transitions from black to deep blue) hits the water before the sun has risen. You get a cool, blue-toned reflection with the first streak of warm colour on the horizon. Bring a tripod — exposures at this stage run from 2 to 8 seconds depending on your ISO.
Window 2: Sunrise (5:30–7:00 a.m.)
The most photographed 90 minutes in Uyuni. As the sun clears the horizon, the sky transforms through every warm tone — burnt orange, coral, rose. The reflection duplicates all of it. Wind is usually lightest at this hour, so the water surface is at its most still. Composition advice: get your horizon line absolutely centred to maximise the symmetry, or deliberately offset it one-third from the top or bottom if you want to emphasise sky or foreground.
Window 3: Mid-morning magic (7:00–9:00 a.m.)
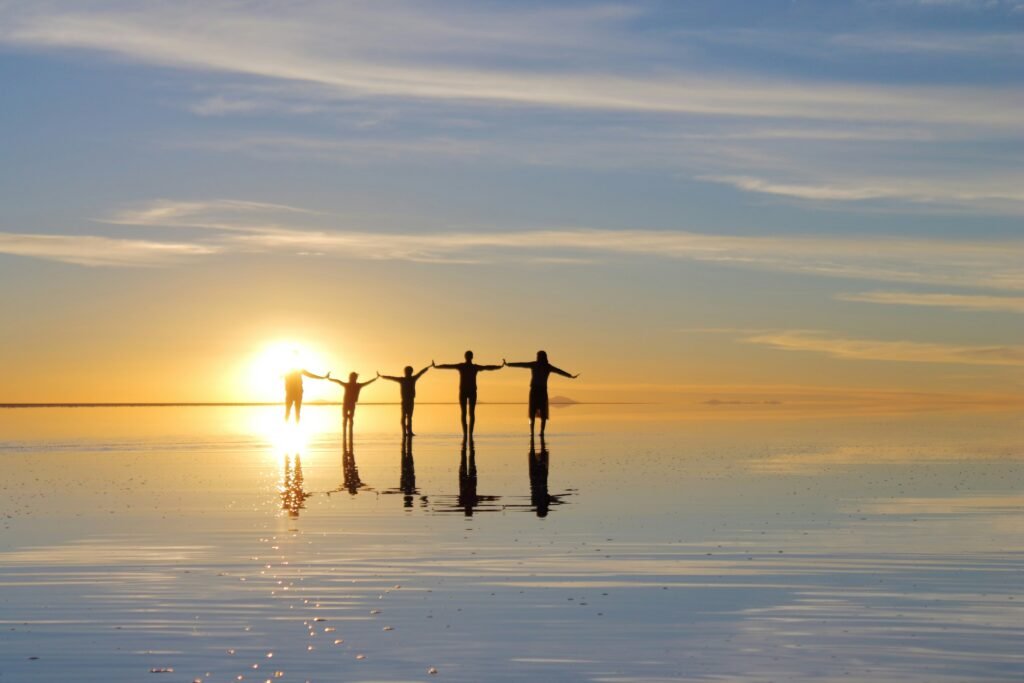
Once the golden hour passes, the light turns harsher but you gain long shadows across the hexagonal crust. This is also the best time for forced-perspective photography — the flat, featureless surface with no visual reference points makes objects look like they are floating in space. This is when you shoot the toy dinosaur eating a tiny person, the human figures “standing on” each other’s heads, and all the playful illusions Uyuni is famous for.
Window 4: Sunset (17:00–18:30)
Underestimated by first-timers, the Uyuni sunset can rival or exceed sunrise in terms of colour intensity. The western sky ignites and the reflection doubles it. The advantage over sunrise: you have all day to scout the right water depth, the right foreground element, and the right composition angle. You are not arriving cold in the dark — you are making an informed decision about exactly where to stand.
| Time Window | Light Quality | Mirror Effect Strength | Recommended Focal Length | Tripod Needed? |
|---|---|---|---|---|
| Pre-dawn (3:30–5:30 a.m.) | Cool blue, minimal colour | Strong (wind usually still) | 16–24mm | Yes — 2–8 sec exposures |
| Sunrise (5:30–7:00 a.m.) | Warm gold/coral — best of the day | Peak (calm air) | 16–35mm | Yes for long exposures |
| Mid-morning (7:00–9:00 a.m.) | Hard directional light | Moderate (wind picks up) | 24–70mm + wide | Optional |
| Midday (10:00 a.m.–4:00 p.m.) | Harsh overhead — avoid | Poor | N/A | No |
| Sunset (17:00–18:30) | Warm gold/red, dramatic clouds | Strong if calm | 16–35mm | Yes |
| Astro/Milky Way (21:00–2:00) | No ambient light | N/A — dry season | 14–20mm f/1.8–2.8 | Yes — essential |
Camera Settings for the Salar de Uyuni: A Practical Reference Guide
Uyuni is one of the most technically demanding environments for photography. The extreme brightness of a white salt flat under full sun will fool your camera’s metering system every time. The reflections at dawn require long exposures that blur even the slightest motion. And at 3,600 metres, your body — and your camera battery — works harder than at sea level. Here are the settings that consistently produce sharp, correctly exposed results.
For mirror-effect reflection shots at sunrise/sunset
| Setting | Starting Point | Adjust If… |
|---|---|---|
| Aperture | f/8 – f/11 | Use f/16 for maximum depth of field on very wide shots |
| Shutter Speed | 1/200s in good light; 2–8s at pre-dawn | Increase speed to freeze ripples from wind; use bulb for Milky Way |
| ISO | 100–400 in daylight; 800–3200 at dawn | Keep under 1600 on crop sensors to control noise |
| White Balance | Daylight (5500K) or Auto | Lock WB manually at sunrise to prevent colour shift mid-sequence |
| Metering | Evaluative/Matrix — then check histogram | Dial in -1 to -2 EV compensation on bright salt in midday light |
| Focus | Manual or AF-S on a fixed foreground element | Avoid continuous AF — the reflection confuses contrast-detect AF |
| Format | RAW always | Never JPEG for landscape work — you need the dynamic range in post |
For dry-season hexagonal crust and Milky Way photography
| Scenario | Aperture | Shutter Speed | ISO | Notes |
|---|---|---|---|---|
| Midday hexagon crust | f/11 | 1/400s – 1/1000s | 100 | Use polariser to cut haze and deepen sky |
| Sunset silhouette | f/8 | 1/200s – 1/500s | 100–200 | Expose for the sky; let foreground go dark |
| Milky Way core | f/1.8–f/2.8 | 15–25s (NPF rule) | 3200–6400 | 14mm or wider; focus on stars at infinity |
| Star trails (2+ hours) | f/4–f/5.6 | 30s intervals × stacked | 400–800 | Use intervalometer; stack in StarStax |
| Forced perspective (midday) | f/16 | 1/250s | 100–200 | Both subjects same light; avoid backlight |
One tip that almost no guide mentions: bring a second battery and keep it inside your jacket. At 3,600 metres in the pre-dawn cold (temperatures can drop to -15°C in July and -5°C even in January), lithium batteries lose 30–40% of their charge in under an hour when exposed to cold air. The battery in your pocket will outlast the one in your camera by a factor of three.
Composition Techniques: How to Build a Truly Great Uyuni Shot
The biggest mistake photographers make at Uyuni is shooting everything the same way: wide angle, horizon centred, nothing in the foreground. After 200 shots of open sky and open flat, they all look identical. The photographers who come back with standout images are the ones who actively vary their approach. Here are the techniques that produce the most distinctive results.
The centred-horizon symmetry shot
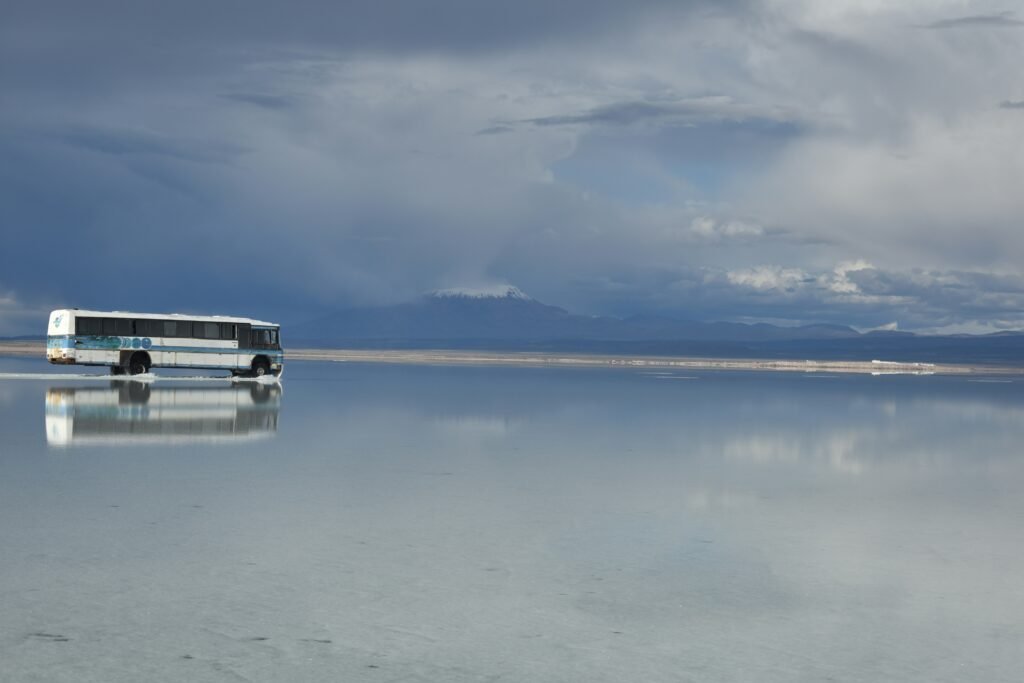
This is the classic. Place your horizon line dead centre in the frame, allow the reflection to double every element in the sky, and let the geometry do the work. For this to succeed, you need three things: water depth of at least 3–5mm (enough to produce a clean reflection), wind speed under 5 km/h (use a weather app — Windy.com shows local wind forecasts), and a subject breaking the line. A lone person, a small boat, a line of jeeps on the horizon — without a subject, the centred shot is just wallpaper.
The low-angle worm’s-eye view
Get your camera 5–10cm above the water surface. Now the reflection fills the bottom two-thirds of the frame and the subject — a standing person, the tour jeep, a flamingo — towers above a sky above and a sky below. This is the shot that looks most “impossible” because the human brain expects a ground-level reference and finds none. A small GorillaPod or a ground-level plate for your tripod makes this achievable without soaking your shirt.
Forced perspective (dry season and mid-morning)
The total absence of visual scale references on the salt flat makes forced perspective easier here than anywhere else on the planet. The key rule: both subjects (the “small” and “large” one) must be lit by the same quality and direction of light, and your camera must be at the same height as the “small” subject. Get low, shoot in the bright mid-morning when shadows are short, and use f/16 to keep both subjects sharp.
The leading-lines hexagon shot (dry season)
During the dry season, the hexagonal polygon cracks in the salt crust create natural leading lines converging toward the horizon. To use them, get low, shoot with your widest lens (14–16mm), and position your subject at the vanishing point. The lines draw the eye directly to your subject. This works especially well at the golden hours when the low sun casts shadows into the cracks, making the hexagons clearly visible.
The long-exposure silky-water dawn shot
When there is enough water for a reflection but also enough movement to create subtle ripples, a 2–4 second exposure blurs the water surface into a perfect mirror even when conditions are not dead calm. Use a neutral density filter (3-stop ND is usually enough at dawn) and place your tripod in 1–2cm of water. Make sure the tripod legs do not vibrate — gently place them and wait 10 seconds before triggering the shutter.
Gear Checklist for Uyuni: What to Bring and What to Leave Behind
You do not need expensive gear to shoot Uyuni. You need the right gear and you need to protect it. The combination of salt spray, water, altitude cold, and intense UV radiation is hard on camera equipment. Here is a practical checklist built from two personal trips and dozens of reader reports.
The settings
| Item | Priority | Notes |
|---|---|---|
| Wide-angle lens (14–24mm) | Essential | The wider the better — 14mm on full-frame gives the most dramatic reflection shots |
| Sturdy tripod | Essential | Carbon fibre saves weight; seal the leg locks with tape to keep salt out |
| Remote shutter release | Essential | Eliminates camera shake on long exposures; app-based remotes also work |
| 2–3 spare batteries + charger | Essential | Cold kills batteries fast; bring more than you think you need |
| Microfibre cloths (×5) | Essential | Salt spray is relentless; clean your front element every 10–15 minutes |
| Circular polarising filter (CPF) | Highly recommended | Deepens sky, cuts glare on the salt crust in dry season |
| ND filters (3-stop, 6-stop) | Recommended | Useful for long exposures in brighter conditions; less critical at dawn |
| Dry bag or waterproof camera bag | Essential | Jeep doors open directly onto the wet salt; gear gets splashed |
| Lens hood | Recommended | Reduces flare in harsh midday light |
| Gaiters or waterproof boots | Essential | You will step in water; open shoes = salt burns on feet |
| Rocket blower + sensor brush | Recommended | Fine salt particles settle on sensors — clean before star shooting |
| Intervalometer | Optional | Required for star trail photography |
One thing to leave behind:
A long telephoto lens. It has almost no use on the flat. The landscape is wide, the subjects are small or far, and carrying 2 kg of glass that never leaves your bag is just dead weight at altitude.
On the gear question more broadly: the photographers who get the best Uyuni shots are almost never the ones with the most expensive cameras. They are the ones who arrived earliest, scouted their composition the day before, and understood the light. A Sony A7III and a 16–35mm f/2.8 will produce spectacular results. So will a Fujifilm X-T4 or a Canon R6. Even a modern iPhone 15 Pro in RAW mode and on a small tripod can capture a respectable mirror-effect shot.
How to Join a Photography Tour vs. Hiring a Private Guide
Most visitors to Uyuni join a shared 4WD jeep tour from the town of Uyuni. The standard format is a day tour (8–10 hours) or a multi-day tour (2–3 days) that also covers the Eduardo Avaroa Andean Fauna National Reserve and the Laguna Colorada. For photographers specifically, the key decision is not which company to book with but when your tour departs.
Sunrise tours (departure 4:00–4:30 a.m.)
These are the best option for mirror-effect photographers. You reach the flat in darkness, set up your tripod in the pre-dawn blue hour, and shoot through the golden hour. Most reputable agencies offer them. The downside: you share the sunrise with 15–30 other tour groups, and managing people walking through your long-exposure shot requires patience.
Sunset tours (departure 13:00–14:00)
Less crowded than sunrise, but you miss the early morning calm. Wind tends to pick up in the afternoon, which can reduce reflection quality. That said, sunset cloud formations at Uyuni are often more dramatic than at sunrise, and the warm light can be equally stunning. These tours are also easier logistically — you are not setting an alarm for 3:30 a.m.
Private photography guide
For serious photographers, hiring a private guide and jeep (typically $80–$150 USD for a full day) gives you complete control over timing, location within the flat, and pace. You can shoot a specific foreground, wait for a cloud to pass, or relocate to find water of the ideal depth. The price difference over a shared tour is usually worth it if you are making a dedicated photography trip.
Complete Salar de Uyuni Travel Guide
Logistics, accommodation, costs, and the full Uyuni experience beyond photography.
Getting to Uyuni: Flights, Buses, and Logistics
Uyuni is not the easiest place to reach, but the access options have improved significantly in recent years. The town has a small airport (UYU) with domestic flights from La Paz and Sucre. Amaszonas and BoA operate these routes, with flight times of around 45 minutes from La Paz. Flights are inexpensive by international standards but book up fast during the January–February peak.
The most popular land route is the overnight bus from La Paz (Turbus Totai, Expreso del Sur, or Trans Omar operate this route). The journey takes 9–11 hours and costs roughly $15–$25 USD for a semi-cama seat. Buses depart La Paz in the late evening and arrive in Uyuni around dawn — which, if you have organised your tour in advance, puts you on the salt flat at exactly the right time.
Another option that photographers often miss: the train from Oruro to Uyuni. The Ferroviaria Andina runs a comfortable passenger service (around 6 hours, $15 USD) through the Bolivian altiplano with stunning high-desert scenery. It is slower than the bus but significantly more comfortable and photogenic in itself.
| Route | Mode | Duration | Approx. Cost | Departs |
|---|---|---|---|---|
| La Paz → Uyuni | Overnight bus | 9–11 hrs | $15–$25 USD | ~20:00 from La Paz |
| La Paz → Uyuni | Domestic flight (BoA/Amaszonas) | ~45 min | $80–$150 USD | Morning flights |
| Oruro → Uyuni | Train (Ferroviaria Andina) | ~6 hrs | $15 USD | Wed, Fri, Sun |
| Sucre → Uyuni | Bus | ~10 hrs | $10–$18 USD | Evening |
| San Pedro de Atacama (Chile) → Uyuni | Agency jeep tour | 2–3 days | $250–$400 USD | Morning, agency-dependent |
Complete La Paz Travel Guide — Bolivia
Altitude acclimatisation, city highlights, transport hub tips, and the best time to visit the Bolivian capital before heading to Uyuni.
Post-Processing the Uyuni Mirror Effect: Lightroom and Capture One Workflow
Even the best Uyuni shot straight out of camera needs some post-processing work. The goal is not to fabricate something that was not there — the reality of Uyuni is already extraordinary — but to correct for the limitations of the sensor relative to what your eye actually saw. Here is a straightforward Lightroom workflow that works for 90% of Uyuni reflection images.
Step 1 — Correct the exposure and white balance first
Uyuni shots are almost always slightly underexposed (to protect the bright sky) with a slightly warm cast from the golden-hour light. In Lightroom: bring up Shadows +30 to +50, pull down Highlights -20 to -40. Set white balance to Daylight (5500K) if you did not lock it in-camera, and fine-tune from there. Your goal is a sky that reads as the colour you remember seeing, not the colour the camera defaulted to.
Step 2 — Lift the shadows in the reflection
The reflection is typically darker than the sky above. Use the Graduated Filter tool to select only the lower half of the frame (the reflection) and lift Exposure +0.5 to +0.8. This brings the reflection up to match the sky and produces the seamless symmetry that makes Uyuni shots so striking.
Step 3 — Increase Texture and Clarity selectively
The hexagonal salt crust or the surface of the water benefits from Texture +20 to +30. Do not apply this globally — use a Radial or Linear gradient to target the foreground and mid-ground. Leave the sky smooth.
Step 4 — Colour grading: the Uyuni palette
Classic Uyuni processing pushes the blues and purples cooler in the shadows (Color Grading → Shadows: Hue 220, Saturation 25) and keeps the highlights warm (Color Grading → Highlights: Hue 40, Saturation 15). This creates the slightly surreal, dreamlike quality that makes the best Uyuni images look distinctly Uyuni rather than just any landscape.
Step 5 — The horizon flip trick
For centred-horizon symmetry shots, try duplicating the image in Photoshop, flipping the top half vertically, and blending with the actual reflection at 50% opacity in Luminosity blend mode. This intensifies the symmetry artificially — but used subtly (10–20% rather than 50%), it simply enhances what was already there and is indistinguishable from reality.
Practical Planning: Altitude, Health, and What to Pack for Uyuni
Uyuni sits at 3,656 metres above sea level. That is roughly the same altitude as the Jungfraujoch in Switzerland or the summit of Mount Evans in Colorado. Altitude sickness is real and it is not correlated with age or fitness — professional athletes get it; sedentary grandparents sometimes do not. The best preparation is to spend at least two full days acclimatising in La Paz (3,640m) before you travel to Uyuni. By the time you arrive, your body has already adjusted to the altitude and the 16-metre difference is irrelevant.
Other practical considerations for a Uyuni photography trip:
| Practical Item | Detail |
|---|---|
| Accommodation | Uyuni town has good guesthouses in all price ranges; the famous Salt Hotel (Los Lipez) is on the flat itself and booked months in advance for Jan–Feb |
| Food and water | Uyuni town has adequate restaurants. Carry 2+ litres of water on the flat — the UV radiation at altitude is severe and dehydration accelerates altitude effects |
| Sun protection | SPF 50+, UV-blocking sunglasses, and a hat are essential. The reflection doubles the UV exposure — you are getting it from both above and below |
| Salt on your gear | Salt water corrodes metal. After shooting, wipe down every metal element of your tripod, lens mount, and camera body with a damp cloth, then dry thoroughly |
| Mobile signal | There is virtually no signal on the flat. Download offline maps (Maps.me or Google Maps offline) and tell your accommodation when to expect you back |
| Cash | Uyuni is largely cash-only. Bring Bolivianos; the exchange rate from USD is reasonable at local banks in La Paz |
Frequently Asked Questions — Photographing the Salar de Uyuni
What is the best month to photograph the Uyuni mirror effect?
January and February are the peak months for the mirror effect, as rainfall is at its heaviest and the water layer on the flat is most consistent. November and December are the start of the wet season — mirror-effect conditions are possible but less reliable. The risk in January–February is overcast skies, which can reduce colour intensity at sunrise.
Do I need a professional camera to get good Uyuni photos?
No. A modern mirrorless camera (Sony A7 series, Fujifilm X-T series, Canon R series) produces outstanding results. Recent smartphone cameras, particularly in RAW mode on a tripod, can also produce very respectable images. The most important factors are a tripod, correct timing, and good light — not sensor size.
How long does the mirror effect typically last in a day?
The ideal mirror-effect conditions — calm water, warm light — typically last 60 to 90 minutes around sunrise and a similar window around sunset. By mid-morning, wind has usually picked up enough to disturb the water surface and reduce reflection quality.
Can I visit Uyuni without a tour and shoot independently?
The flat itself is public land and there is no entry fee, but reaching the main shooting spots (which are 20–30 km from Uyuni town) requires a 4WD vehicle. You can rent a vehicle independently in Uyuni, but many photographers prefer a guided tour for the pre-dawn logistics, local knowledge of water depth locations, and safety.
Is the Salar de Uyuni accessible during the rainy season?
Yes, but access varies. The main tourist areas of the flat are reachable year-round. Some interior sections of the flat can become impassable for vehicles when water depth exceeds 10–15cm during heavy rain periods. Your local guide will know which areas are accessible on any given day.
What type of tripod is best for wet conditions at Uyuni?
Carbon fibre tripods are preferred for weight at altitude. Whatever material you use, seal the leg-locking mechanisms with gaffer tape before shooting to prevent salt crystals from working their way in. Clean and dry the tripod thoroughly after every session in salt water.
How do I avoid the reflection being darker than the sky in my shots?
Underexposure of the reflection relative to the sky is a common issue. Use the Graduated Filter in Lightroom to brighten the bottom half of the frame independently. In-camera, you can address this partially by using exposure compensation (+0.5 to +0.8 EV) and exposing for the reflection rather than the sky, then pulling back the highlights in post.
Are there flamingos at the Salar de Uyuni?
The Salar de Uyuni itself does not typically have flamingos — they are found at the coloured lagoons (Laguna Colorada, Laguna Verde) further south in the Eduardo Avaroa National Reserve, a 3–5 hour drive from Uyuni. Multi-day tours include these lagoons. For flamingo shots, you need the 3-day tour, not the single-day Uyuni tour.
What is the altitude of the Salar de Uyuni and will I get altitude sickness?
The salt flat sits at 3,656 metres above sea level. Altitude sickness risk is real but manageable with proper acclimatisation. Spend at least 2 days in La Paz or Potosí before travelling to Uyuni. Drink extra water, avoid alcohol, eat light, and take it easy on your first day. Coca tea, widely available locally, is a traditional and mildly effective remedy.
Can I photograph the Milky Way at Uyuni?
Yes — and it is extraordinary. The dry season (May–October) offers the clearest skies and no moon interference during new moon periods. The Salar de Uyuni is one of the darkest places in South America; the Milky Way is visible to the naked eye with startling clarity. Use a 14mm or 16mm lens at f/1.8–f/2.8, ISO 3200–6400, and a 15–25 second exposure. The dry salt crust reflects the stars faintly, producing a surreal ground-sky mirror even without water.
Conclusion: Go Early, Stay Patient, and Trust the Light
I have been asked many times whether the Salar de Uyuni lives up to the photographs. My honest answer is that it depends entirely on when you are there and how you approach it. If you arrive at midday in July, wander around for two hours, take a few forced-perspective shots, and leave — you will go home with decent travel snaps. If you get up at 3:30 in the morning in February, wade into 2cm of mirror-still water as the sky begins its slow transition from indigo to gold, and wait — you will go home with images you struggle to believe you actually took.
The technical knowledge in this guide — the settings, the timing, the composition principles — is a starting point, not a formula. Uyuni rewards improvisation and patience far more than it rewards expensive gear or rigid technique. Some of the best shots I have seen from the flat were taken by first-time photographers who simply stayed long enough to catch a moment of extraordinary light that nobody else was there to witness.
Plan the logistics carefully. Acclimatise properly. Protect your gear from the salt. And then — put down the checklist and just look at what is in front of you. The Salar de Uyuni has a way of doing the rest.
This is the first article in our High-Altitude Photography series at Uncover the Andes. Coming next: best camera settings for Machu Picchu at dawn, and how to photograph the Torres del Paine without the crowds. Subscribe to the newsletter and follow us on Instagram — we share behind-the-scenes shots and real-time conditions reports from the field. And if you found this guide useful, share it with a photographer friend who is planning the Andean circuit. See you on the next one.