

There is a specific kind of freedom that comes with reducing your entire life to a single bag on your back. No checked luggage fees. No waiting at baggage carousels in Lima or Bogota. or oversized suitcase that will not fit under a sleeper bus seat or in a hostel locker. and No choosing between Cartagena and Medellín because you cannot manage the connection with a 30 kg rolling case.
Backpacking South America — really backpacking it, moving between countries and cities with a flexible itinerary and a willingness to go where the day takes you — is one of the most extraordinary travel experiences available anywhere in the world. The continent runs from the equatorial heat of Colombia to the subantarctic cold of Patagonia, from the colonial colour of Cartagena to the 4,000-metre altitude of the Bolivian altiplano. The bag you choose to carry across all of it is one of the most important decisions you will make before you leave.
This guide covers the best travel backpacks for backpacking South America in 2026 — from 30L carry-on bags for the minimalist fast-mover to 50L panel-loaders built for the long-haul traveller who wants one bag for hostels, buses, treks, and city days. Every pick includes Amazon links using my affiliate ID so you can check the current price directly, and every recommendation is made with the specific demands of South American travel in mind: security, heat management, bus storage, hostel locker fit, and altitude durability.
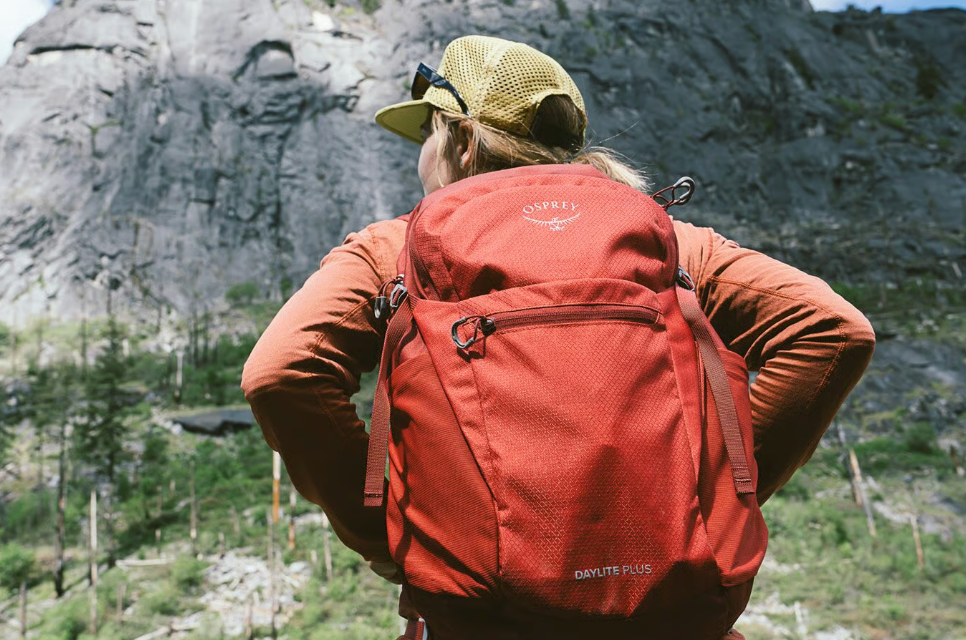
One Bag vs Two Bags: The Case for Doing South America with a Single Backpack
The classic South American backpacker setup used to be a 70L pack strapped with everything imaginable. Newer generations of travellers have moved decisively toward the one-bag approach — a single 35–50L pack that functions as both travel bag and daypack, fits in overhead lockers, and eliminates the cognitive overhead of managing multiple pieces of luggage.
The advantages for South America specifically are substantial. Colombian domestic flights have very strict carry-on enforcement — a 40L pack that meets the 55×40×20 cm standard saves you the checked luggage fee on every hop between Bogota, Cartagena, and Medellín. Sleeper buses from Cusco to La Paz have limited luggage compartments; a 40–45L pack fits under the seat, keeping your valuables within reach on overnight journeys. And in the crowded markets, bus terminals, and colonial streets of South America’s cities, a smaller pack is dramatically less vulnerable to opportunistic theft than a large external-frame monstrosity.
The counterargument:
If you are doing extended trekking — Inca Trail, Salkantay, Torres del Paine — a 40L travel pack is not large enough for multi-day camping gear. The solution used by serious long-trip travellers is two bags: a 40–45L travel backpack as the primary, and a 15–20L packable daypack that nests inside when travelling and deploys for day hikes and city exploration. Together they give you carry-on capability plus day hike flexibility without the misery of a 70L monster on your back through Cusco’s cobblestone streets.
| Bag Setup | Best For | Limitations |
|---|---|---|
| Single 35–40L carry-on pack | Fast-moving travellers, frequent flyers, city-focused trips | Not enough for multi-day trekking with camping gear |
| Single 45–50L panel-loader | 3–6 month trips, mix of city and trekking, checked or carry-on | Borderline carry-on on budget airlines — check airline rules |
| 40L travel pack + 15–20L daypack nested | Long trips with trekking, best overall flexibility | Two bags to manage; daypack needs to compress small |
| 65L expedition pack (previous article) | Dedicated multi-day trekking without city travel | Too large for hostels and city transport; poor carry-on |
Best expedition backpacks for Andes trekking and photography 2026
If your trip is focused on multi-day trekking — Inca Trail, Salkantay, Torres del Paine — this companion guide covers the 65L expedition packs built for that specific use.
What to Look For in a South America Travel Backpack: The Non-Negotiables
South American travel conditions are harder on bags than most people expect. The combination of tropical humidity in Colombia and Ecuador, bone-dry altitude cold in Bolivia and Peru, the salt exposure of the Uyuni salt flat, and the sheer number of bus journeys — each one a vibration test for every zipper and buckle — means that a bag that works fine in Europe or Southeast Asia may not hold up here.
Security features that actually matter
Lockable zippers are non-negotiable. Not because every street in South America is dangerous — it is not — but because a bag with no locking mechanism in a crowded bus terminal or a hostel dorm is an invitation. The lock does not need to be impenetrable; it needs to be time-consuming enough to deter opportunistic theft. Most good travel packs have a lockable panel that covers all the main zippers simultaneously — a single small padlock secures the entire bag.
Hip belt pockets that zip closed are a secondary security feature with major practical value. Your phone, cash, and transit cards live in your hip belt pockets on city days — not in your main pack, not in external pouches. A hip belt pocket you can feel with your hand and know is closed is the most effective anti-pickpocket feature on any backpacking bag.
Carry-on compliance — and when it does not matter
Most budget airlines in South America (LATAM, Avianca, Copa, Sky Airline, JetSmart) allow carry-on bags up to approximately 55×40×20 cm and 10 kg. A well-packed 40L bag meets these dimensions when compressed. A 45–50L bag is borderline — it fits many airline bins but not all, and check-in staff enforce the gauge at their discretion. If you are flying frequently within South America, a 40L pack gives you reliable carry-on capability. If you are mostly using buses and only flying occasionally, the 45–50L range is more comfortable for extended trips.
Back ventilation in humid climates
Colombia, Ecuador, Peru’s Amazon side, and the Brazilian routes are tropical — hot and humid, often above 30°C. A pack with a tensioned mesh back panel that holds the bag away from your spine allows airflow and significantly reduces the sweated-through-shirt problem that plagues backpackers with sealed-back bags. In the Bolivian altiplano and Patagonia, where cold is the variable rather than heat, the ventilation matters less — but the same packs that ventilate well tend to carry more comfortably regardless of temperature.
| Feature | Priority for SA Travel | Why |
|---|---|---|
| Lockable zippers | Essential | Bus terminals, hostels, markets — low-effort deterrent to opportunistic theft |
| Panel-load main compartment | Highly recommended | Hostel packing is suitcase-style — panel access beats top-load every time |
| Carry-on dimensions (≤55×40×20 cm) | Important if flying frequently | Saves checked bag fees on budget airlines; keeps bag in sight |
| Padded back ventilation | Important in tropical regions | Colombia, Ecuador, Amazon — temperature management over long days |
| Hip belt with zippered pockets | Highly recommended | Phone, cash, transit cards — accessible without removing pack |
| Integrated or compatible rain cover | Essential | Patagonia, Andean wet season, Amazon — rain is inevitable |
| Internal laptop/tablet sleeve | Optional but useful | Digital nomads and work travellers — keeps electronics separate |
| Compression straps | Important | Stabilise partial loads as you consume food and gear across the trip |
The 7 Best Travel Backpacks for Backpacking South America in 2026
These picks span the full range from minimalist carry-on to full-size travel pack. Every one has been evaluated for the specific demands of South American travel — not just generic travel performance.
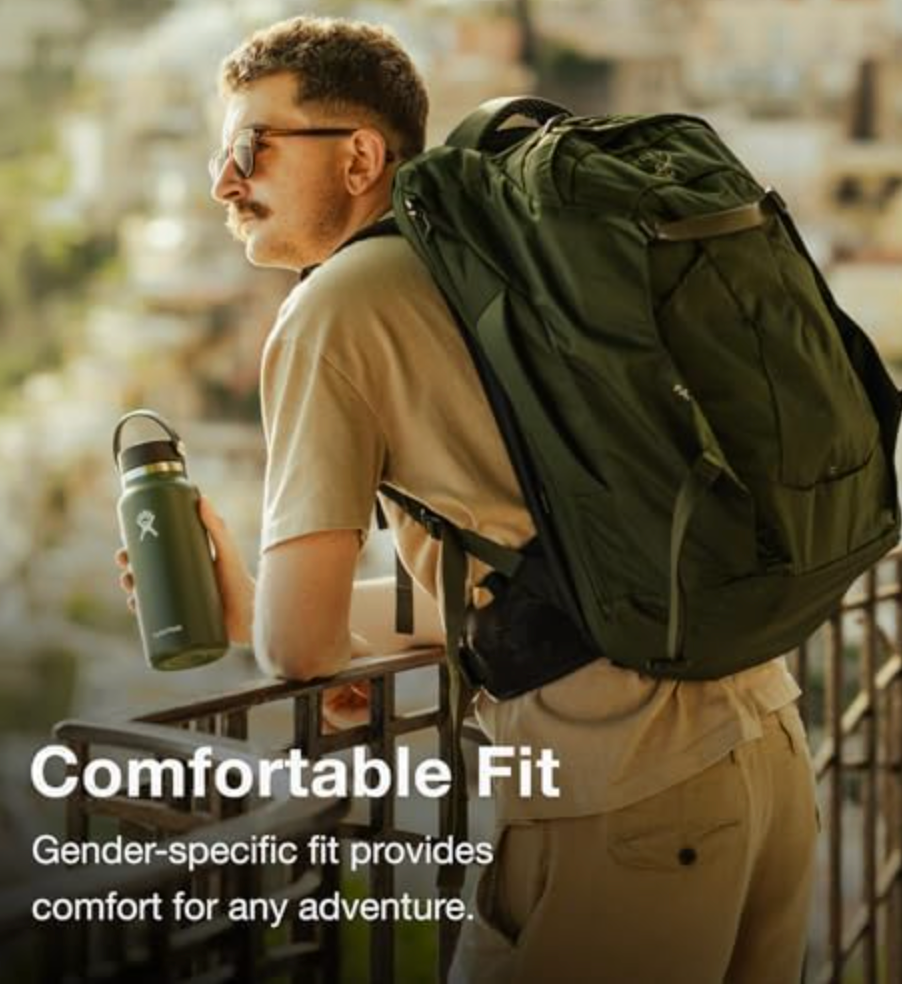

How to Pack a 40L Bag for 3 Months in South America
The most common mistake first-time South America backpackers make is packing for every scenario. They bring three pairs of jeans, a formal outfit, six t-shirts, two pairs of trainers, and a full toiletry kit — and then spend three days in Cartagena dripping sweat before abandoning half their clothes at a hostel clothes swap. Here is how to pack a 40L bag for a full South America trip without overpacking.
The core principle: pack for laundry, not for every day
South America has laundromats in every city, and most charge $3–$5 USD per load washed and dried. Plan to do laundry every 5–7 days. This means you need 5–7 days of clothes, not 3 months of clothes. The weight and volume savings are enormous: from a full suitcase to a 40L pack.
The table
| Category | Recommended Items | Notes for South America |
|---|---|---|
| T-shirts / tops | 4–5 merino wool or quick-dry synthetic | Merino resists odour — extend wear between washes; avoid cotton |
| Bottoms | 2 trousers + 1 shorts | Lightweight zip-off trousers cover both warm and cool climates |
| Insulation layer | 1 down or synthetic jacket (packable) | Essential for altitude — can be 0°C in La Paz and 30°C in Cartagena same trip |
| Rain layer | 1 lightweight hardshell or packable rain jacket | Patagonia and Andean wet season — non-negotiable |
| Footwear | 1 pair trail runners + 1 pair sandals/flip-flops | Trail runners work for city and moderate trekking; sandals for hostels |
| Underwear / socks | 5–7 merino wool pairs each | Merino dries fast, resists odour — worth the price over cotton |
| Camera kit | Body + 1–2 lenses + accessories in padded insert | Keep this as compact as possible; every kg is felt on transit days |
| Electronics | Laptop/tablet + universal adapter + power bank + headphones | South American plugs are Type A/B — same as US; no adapter usually needed |
| Documents | Passport + photocopies + insurance + vaccination card | Keep copies in cloud storage (Google Drive or iCloud) as backup |
| Health kit | Altitude meds (Diamox), DEET, SPF 50+, basic first aid | Altitude medication should be discussed with a doctor before departure |
Chile Patagonia travel guide 2026
The Torres del Paine W Circuit, Carretera Austral, and the best of Chilean Patagonia — with full packing and logistics guidance for the southernmost chapter of your South America trip.
What to leave at home:
Afull-size towel (hostels provide them or you buy a microfibre one on day one), a sleeping bag (only necessary for the Inca Trail or Patagonia camping — rent one there), more than one pair of jeans (they weigh over 500g each and take two days to dry), and any book thicker than 300 pages (your phone works).
Security on the Move: Protecting Your Bag Across South America
South America has a reputation for theft that is partly deserved and mostly overstated. The vast majority of backpackers complete a full South America trip without any significant theft incident. The ones who do get robbed almost always made one of three avoidable mistakes: they left a bag unattended, they used an obviously unlocked bag in a known high-risk area, or they carried valuables in an outer pocket in a crowded space.
Colombia travel guide 2026 — Master guide to the country
Cartagena, Medellín, the Coffee Triangle, and Bogota — complete logistics, costs, safety, and transport for your Colombia chapter of the South America backpacking route.
The three-layer security system
Layer 1 — Physical deterrence: A small padlock through the zipper sliders of your main compartment. This does not make your bag theft-proof but makes it slower to open than every other bag around you. Opportunistic theft is about speed — a locked bag is usually passed over for an easier target.
Layer 2 — Separation of valuables: Your passport, bank cards, and significant cash should never be in your main bag on transit days. A neck wallet or a thin waist pouch worn under your shirt holds your critical documents and emergency cash. Your bag can be taken; these cannot.
Layer 3 — Digital backup: Every important document — passport photo page, insurance policy, bank card numbers, emergency contacts — lives in a private folder in your cloud storage. A stolen bag is recoverable. Missing documents with no backup are not.
Bus security — the most overlooked risk
The highest-risk moment for backpack theft in South America is not in cities — it is on long-haul overnight buses. The standard theft method involves a person sitting near you removing items from your bag while you sleep. The solution: keep your bag in the overhead rack directly above your seat (not at the front of the bus), loop a padlock through the main zipper, and keep your hip belt pouch (with passport and cards) on your body under your clothes. Never check valuables into the luggage compartment under the bus — you cannot see or access that space during the journey.
La Paz Bolivia — complete travel guide 2026
La Paz is the gateway to the Bolivian altiplano, the Salar de Uyuni, and some of the most extraordinary landscapes in South America. Logistics, security tips, and altitude acclimatisation.
Full Comparison: Which Travel Backpack Is Right for Your South America Trip?
| Pack | Capacity | Weight | Carry-On? | Best For | Price Range |
|---|---|---|---|---|---|
| Osprey Farpoint 40 | 40L | 1.38 kg | Yes (most airlines) | Best all-round — first South America trip | $$ mid |
| Osprey Farpoint 55 | 55L (40+15) | 2.1 kg | Daypack only | 3–6 month trips with trekking and city mix | $$$ mid-high |
| Peak Design Travel 45L | 45L | 1.84 kg | Yes (most airlines) | Photographers and digital nomads | $$$$ premium |
| Cotopaxi Allpa 42L | 42L | 1.6 kg | Yes (borderline) | Value seekers — best durability per dollar | $$ mid |
| Tortuga Travel 30L | 30L | 1.02 kg | Yes — personal item | Ultra-minimalists and frequent flyers | $$ mid |
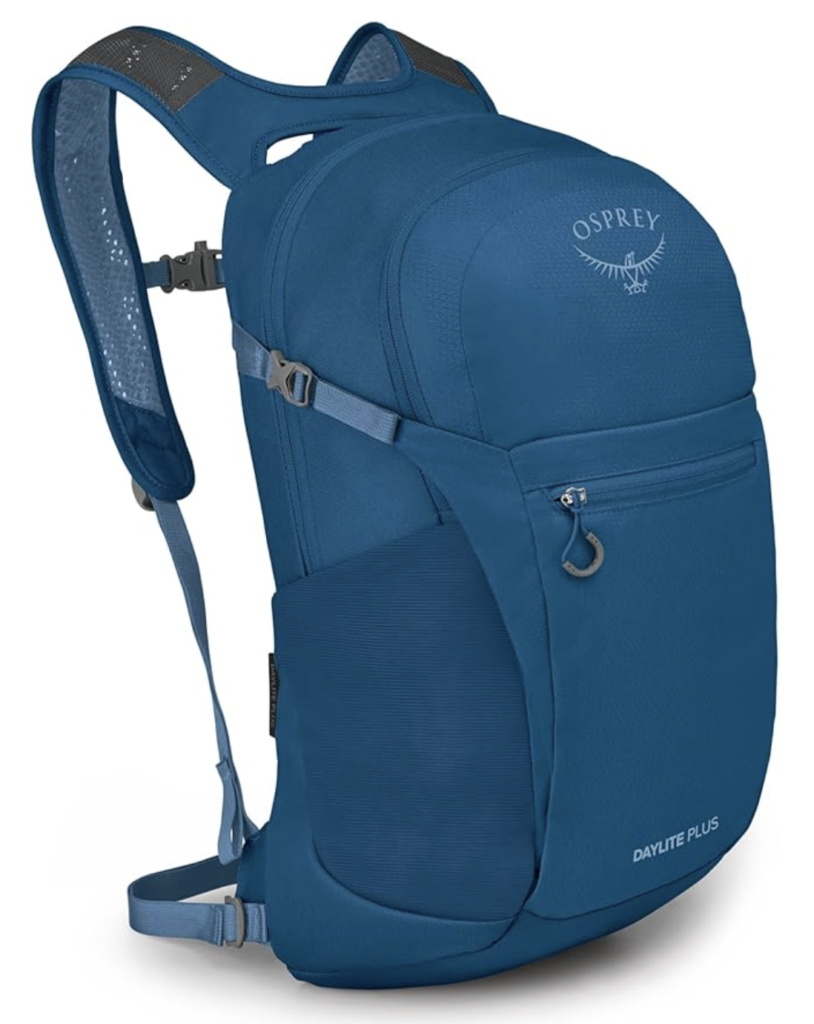
| Osprey Daylite Plus 20L | 20L | 320g | Yes (personal item) | Secondary daypack — pairs with any primary bag | $ budget-mid |
The simplest recommendation: if this is your first South America backpacking trip and you want a reliable, proven choice, buy the Osprey Farpoint 40. It has been the default recommendation for good reason for over a decade — it works, it lasts, and you will not regret it. If you are a photographer or digital nomad and your gear is expensive, upgrade to the Peak Design Travel 45L. If you are budget-conscious and want maximum durability at a lower price, the Cotopaxi Allpa 42L delivers.
Budget Planning: How Much Does a South America Backpacking Trip Cost?
This is the question every first-time South America traveller asks after they have sorted the bag. The honest answer: the continent ranges from extremely affordable (Bolivia and Peru are among the cheapest travel destinations in the Americas) to moderately expensive (Chile and Argentina are significantly pricier). A realistic monthly budget for a backpacker depends entirely on your comfort level and pace.
| Country | Budget Backpacker ($/day) | Mid-Range ($/day) | Notes |
|---|---|---|---|
| Bolivia | $25–$40 | $60–$90 | Cheapest country in South America; Uyuni tours add cost |
| Peru | $35–$55 | $80–$120 | Machu Picchu entry + transport adds $100–$150 to any visit |
| Colombia | $40–$65 | $90–$130 | Cartagena pricier than Medellín; coffee region is affordable |
| Ecuador | $35–$55 | $80–$110 | Galapagos Islands are expensive — budget $3,000–$5,000 for a week separately |
| Chile | $55–$80 | $120–$180 | Most expensive SA country; Patagonia adds costs significantly |
| Argentina | $40–$70 | $100–$150 | Volatile pricing — verify current rates close to departure |
How to photograph the Salar de Uyuni mirror effect
Bolivia is the most photogenic and most affordable country in South America. Start here — and bring the right bag.

Conclusion: Choose Your Bag, Then Get on the Plane
The best travel backpack for South America is the one that removes friction from your journey — the one you do not think about because it works, it fits, it opens when you need it to open, and it keeps your things safe and dry. Every pack in this guide does that job well. The decision between them is really a decision about what kind of traveller you are and what kind of trip you are planning.
If you are still agonising over the choice, here is the clearest possible shortcut: buy the Osprey Farpoint 40, pack 5 t-shirts, 2 pairs of trousers, a down jacket, a rain layer, your camera, and your laptop. That is it. The rest you will figure out on the road, buy locally if you need it, and leave behind in a hostel clothes swap when you realise you never used it. South America rewards the traveller who shows up ready to move, not the one who tried to pack for every contingency before they left home.
The destination guides, photography tutorials, and gear articles throughout this site are built around the same philosophy: know the essentials, carry what you need, and leave everything else behind. Explore the Bolivia photography series, the Colombia travel guide, the Chile Patagonia guide, and the altitude sickness resource — all linked throughout this article — and start building the South America trip you have been thinking about. The bag is ready when you are.