
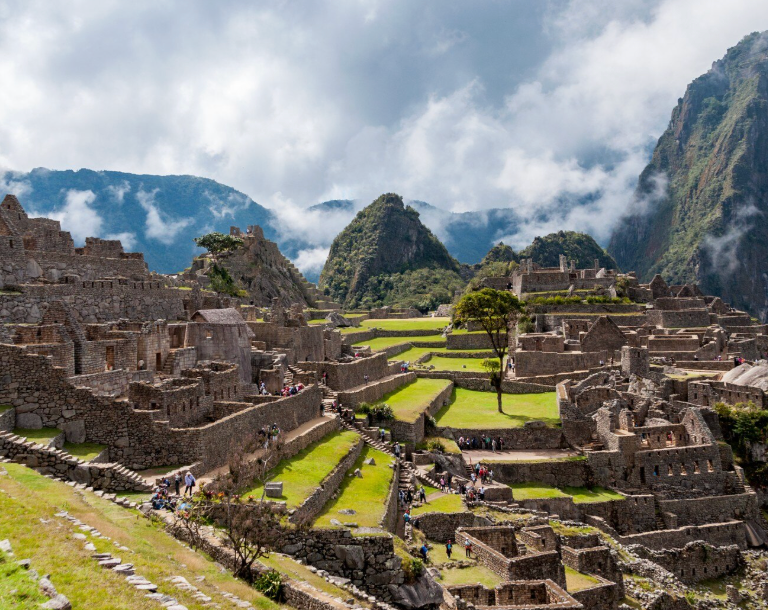
There is a photograph that almost everyone who visits Machu Picchu takes — and almost nobody takes well. The classic view from the agricultural terraces above the main plaza, with Huayna Picchu rising behind the ruins and the Urubamba River gorge dropping thousands of metres below. It is one of the most compelling landscape compositions in the world, and it is almost entirely dependent on timing, light, and positioning to separate from the millions of near-identical images taken from the same spot.
Machu Picchu rewards photographers who understand its rhythms. The cloud that frustrates the casual visitor who arrives at 10 AM to find the ruins wrapped in white is the same cloud that creates extraordinary atmospheric images for the photographer who arrived at dawn, captured the clear sunrise, and waited for the fog to roll in from the valley below. The crowds that make midday shooting feel impossible are gone from the sunrise entry group. The afternoon light that most people photograph badly — harsh, flat, unflattering — is the same light that turns the granite terraces to gold if you know which angle to shoot from.
This is the complete photography guide to Machu Picchu for 2026 — the best spots, the right times of day, camera settings for every lighting condition, and the practical logistics of getting there with your gear intact.
Understanding Machu Picchu’s Light: The Four Windows of the Day
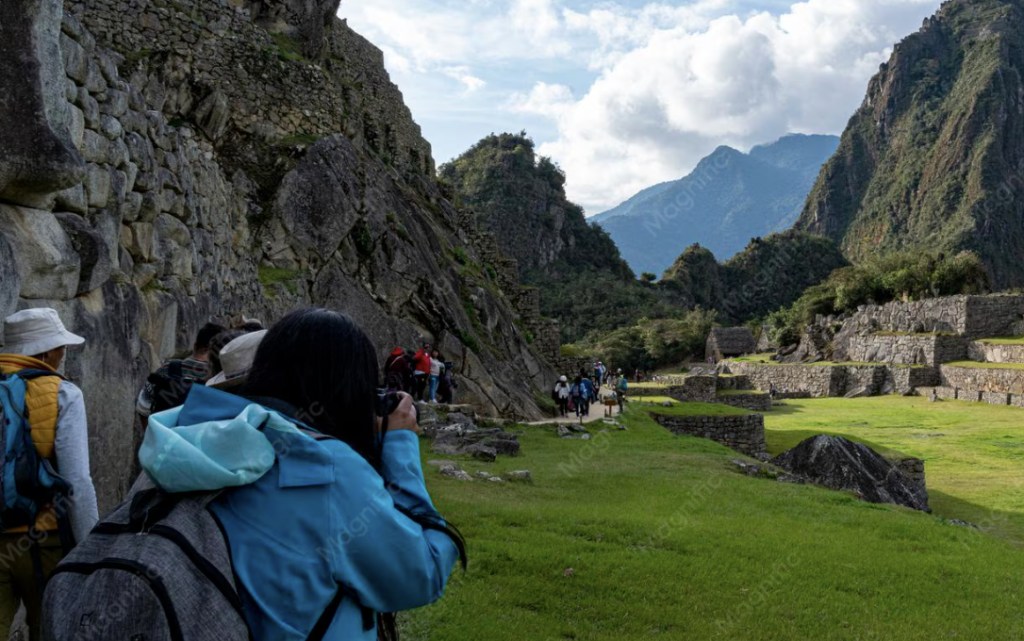
Light is everything at Machu Picchu — and the site’s orientation, altitude, and microclimate create four distinct lighting windows that produce radically different photographic results. Understanding them before you arrive means you can plan which entry time to book and what to prioritise during each window.
Pre-dawn to sunrise (5:00 AM – 6:30 AM)
The first entry group is permitted from 6:00 AM (gates open at 5:30 AM for the queue). In the 30–45 minutes before sunrise, Machu Picchu is frequently free of cloud cover — the overnight cold has suppressed cloud formation in the valley, and the ruins are visible under blue pre-dawn sky. This is the window for the classic long-exposure shot of the ruins under deep blue sky with the Milky Way trailing above Huayna Picchu — possible only in dry season (May–September) when the sky is clear.
Sunrise itself — which occurs between 5:50 AM (June solstice) and 6:25 AM (December solstice) from the site’s perspective — hits Huayna Picchu first, then gradually illuminates the terraces from the east. The quality of light in the 15 minutes after sunrise is exceptional: warm, directional, and creating long shadows across the terraces that add depth to any composition. This is when the classic shot from the Hut of the Guardian produces its best results.
Morning cloud (7:00 AM – 10:00 AM)
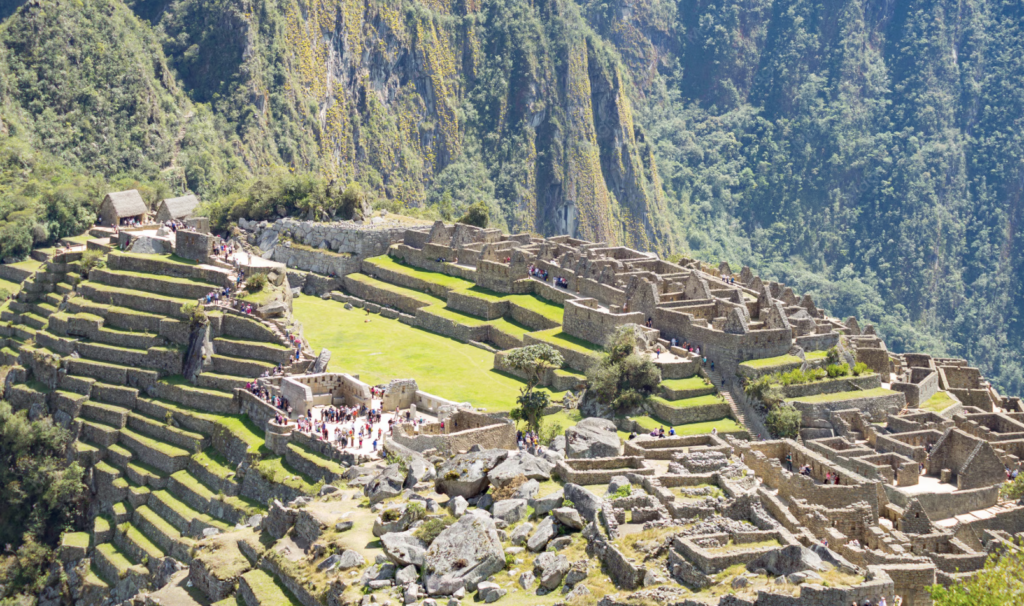
As the valley heats up, cloud typically forms in the Urubamba Gorge below and rises toward the ruins. By 8:00–9:00 AM on most days, Machu Picchu is wrapped in a combination of clear sky above and rising cloud below — the most atmospheric and unique lighting condition the site produces. Ruins emerging from cloud are one of the defining Machu Picchu image types and are impossible to replicate at any other time of day. This window rewards patience: find your composition, set up, and wait for the cloud to thin, reveal, and close again repeatedly over 20–30 minute intervals.
Midday (10:00 AM – 2:00 PM)
The most crowded and least photogenic window. High overhead sun creates harsh shadows, the site fills to capacity, and the cloud either fully covers the ruins or fully clears to flat overhead light with no direction or depth. For photography, use this time to scout compositions for the afternoon, visit the non-photographic interior structures, or descend to Aguas Calientes for lunch and return for the afternoon session.
Late afternoon (2:00 PM – 4:30 PM)
As the sun moves west, the light angle improves dramatically. The terraces on the eastern face of the site are now front-lit rather than back-lit, and the lower sun angle creates the long shadow lines across the stone that make the agricultural terraces look their most dramatic. Cloud typically begins forming again in the late afternoon from the valley, offering another atmospheric window. The site thins significantly after 3:00 PM as day-trippers begin the descent to Aguas Calientes. The last entry group (12:00 PM entry) leaves around 4:30 PM. Photographers with afternoon entry permits frequently have the site nearly to themselves for the final hour.
| Time Window | Light Quality | Crowds | Cloud Likelihood | Best For |
|---|---|---|---|---|
| Pre-dawn (5:00–6:00 AM) | Blue hour — deep blue sky, no direction | Minimal — first entry only | Low in dry season | Long exposure, Milky Way (dry season) |
| Sunrise (6:00–7:00 AM) | Warm, directional — best of the day | Low — first entry group only | Low | Classic Hut of Guardian shot, terrace detail |
| Morning cloud (7:00–10:00 AM) | Variable — atmospheric, dramatic | Building | High — rising valley cloud | Cloud emergence shots, atmosphere |
| Midday (10:00 AM–2:00 PM) | Harsh overhead — flat and unflattering | Maximum | Variable | Not recommended for photography |
| Late afternoon (2:00–4:30 PM) | Warm, low angle — excellent | Declining after 3 PM | Moderate | Terrace shadow detail, golden light |
The 6 Best Photography Spots Inside Machu Picchu
Machu Picchu covers approximately 7.9 square kilometres of archaeological site, but the vast majority of the most compelling photography compositions are concentrated in six specific locations. Knowing these in advance — and the best time and angle for each — means you can move efficiently between them during the short window when crowds and light align.
1. The Hut of the Guardian (Caretaker’s Hut)
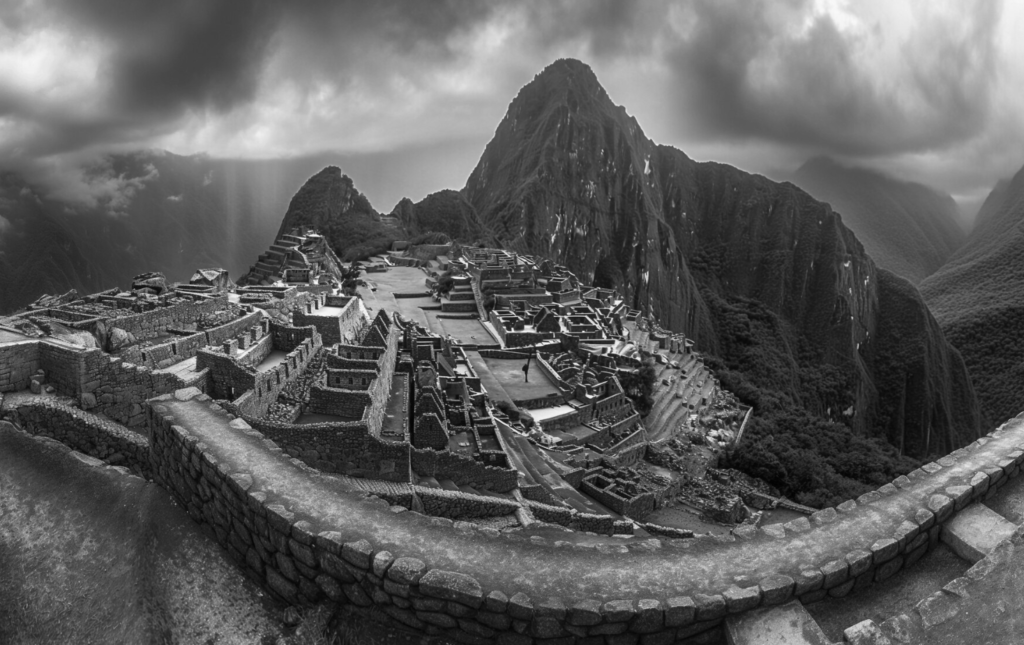
The defining Machu Picchu photograph — the wide panoramic view with Huayna Picchu behind the main citadel — is taken from the agricultural terraces below the Hut of the Guardian, approximately 200 metres from the main gate on the upper terrace path. This is the first and most important stop for any photographer arriving at sunrise. Position yourself on the terrace path approximately 50 metres below the hut for the clearest foreground-to-background composition. A 24–35mm focal length captures the full panorama. At sunrise, shoot east into the light for silhouette effects; shoot west for the warm-lit citadel against Huayna Picchu.
2. The Sun Gate (Inti Punku)
The Sun Gate sits at the top of the Inca Trail, approximately 45 minutes of hiking above the main citadel. It is the point through which Inca Trail trekkers first see Machu Picchu — and it offers a unique elevated perspective that includes the full citadel, the Urubamba River below, and the mountain ridgeline that frames the site. Photography from the Sun Gate requires an Inca Trail or Salkantay Trek permit in most cases — day visitors can hike up the path from the main site with an additional circuit ticket. Best shot at sunrise when the light comes through the gate opening and illuminates the citadel from the east.
3. The Intihuatana Stone
The Intihuatana — the “hitching post of the sun” — is a carved granite ritual stone at the highest point of the main citadel. Photography here requires a Circuit 2 or Circuit 4 ticket and is best in the morning when the stone is front-lit and the cloud below the site is rising. The stone itself photographs beautifully in close-up with a 50–85mm equivalent focal length, and the surrounding terraces visible in the background add context. Do not attempt to touch the stone — guards enforce a strict no-contact rule, and the area has barriers to enforce it.
4. The Classic Plaza View (Lower Terraces)
From the lower agricultural terraces on the western edge of the site, the main residential and temple structures are photographed with Huayna Picchu rising behind them from a lower angle than the Guardian’s Hut view. This composition is less frequently used and produces a more intimate view of the individual building facades. Best in the late afternoon when the western sun lights the stone facades directly and creates warm, even illumination across the main structures.
5. The Temple of the Three Windows
The Temple of the Three Windows is one of the most architecturally distinctive structures in the citadel — three large trapezoidal windows aligned to admit morning light across the interior floor stones. Photograph from outside the temple looking in during the first two hours after sunrise, when the morning light creates dramatic light beams through the window openings. A 35–50mm focal length captures all three windows and the interior detail simultaneously. Early morning only — by midday the overhead light removes the beam effect entirely.
6. Huayna Picchu and Machu Picchu Mountain
Both peaks require separate permits (extremely limited — book months in advance) and offer views that are completely different from any composition available from the main site. From Huayna Picchu, Machu Picchu is photographed from directly above, with the Urubamba River visible as a horseshoe bend far below — the most dramatic aerial perspective available without a drone. From Machu Picchu Mountain (higher, less crowded, larger permits available), the citadel is seen from the opposite direction with Huayna Picchu as the foreground element.
Best Expedition Backpacks for Andes Trekking 2026
The pack that carries your camera gear safely to Machu Picchu — which 65L expedition packs provide the best camera protection on the Inca Trail and Salkantay.
Camera Settings for Every Machu Picchu Lighting Condition
Machu Picchu’s range of lighting conditions — from pre-dawn blue hour to harsh midday overhead to golden late afternoon — requires different camera settings for each window. Using the same settings across the day is the most common technical mistake made by photographers at the site.
Blue hour and pre-dawn (5:00–6:00 AM)
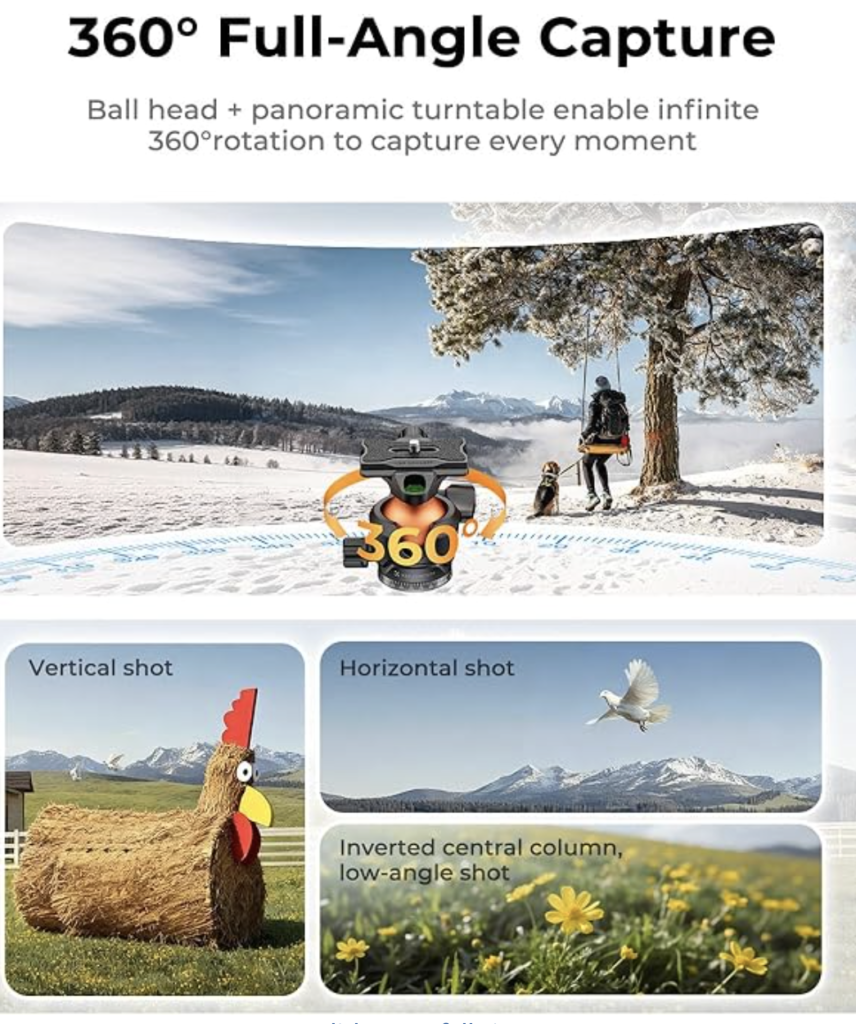
ISO 800–1600, aperture f/4–f/5.6, shutter speed 15–30 seconds on tripod. The pre-dawn blue hour light is low enough to require a tripod and long exposure — handheld shooting produces blurred images at any focal length. Use remote shutter release or 2-second timer to eliminate camera shake. The Joby GorillaPod (see gear section below) is the most versatile tripod for the site — standard tripods are not permitted inside the Machu Picchu perimeter, but flexible mini-tripods are tolerated when used on stone surfaces.
Sunrise (6:00–7:00 AM)
ISO 200–400, aperture f/8–f/11 (for maximum depth of field across terraces to background peaks), shutter speed 1/125–1/500 depending on how fast clouds are moving. The warm sunrise light is bright enough for handheld shooting at these settings. Bracket exposures by +/- 1 stop to handle the contrast between the bright sky and darker shadowed terraces. HDR processing in post or graduated ND filter in-camera both address this contrast range effectively.
Atmospheric cloud (7:00–10:00 AM)
ISO 400–800, aperture f/8, shutter speed variable — clouds move fast enough that 1/250 stops motion without losing too much depth of field. In this window, the exposure is primarily determined by the ever-changing cloud density. Use evaluative/matrix metering and adjust exposure compensation by -1/3 stop to prevent the bright cloud from blowing out highlights in the sky. Shoot in RAW for maximum recovery latitude in post.
Late afternoon golden light (2:00–4:30 PM)
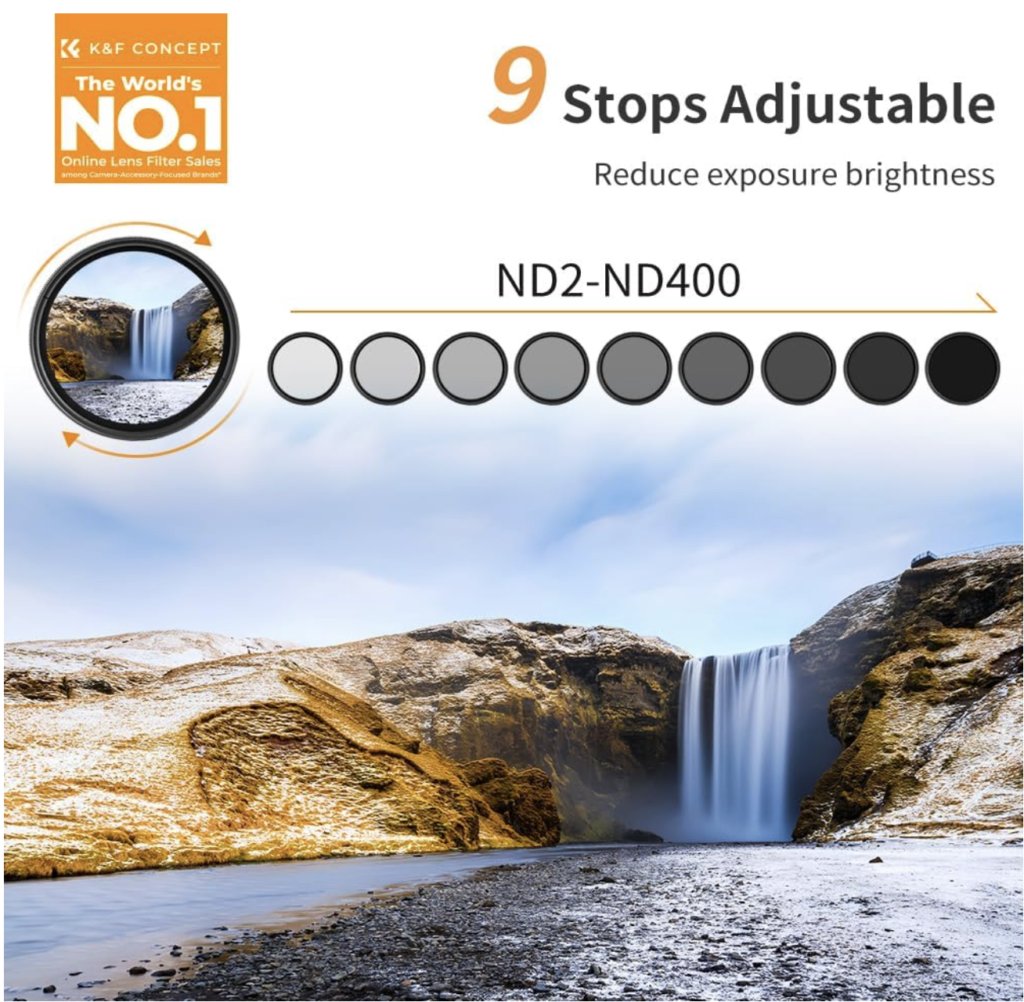
ISO 100–200, aperture f/8–f/11, shutter speed 1/200–1/500. The low-angle afternoon sun produces the best contrast and shadow depth of any window except sunrise. Expose for the sunlit stone surfaces and allow shadows to fall naturally — this preserves the texture detail in the granite that makes terrace photographs look three-dimensional. A circular polarising filter in this window reduces glare from the stone surfaces and deepens the blue sky contrast dramatically.
Essential Gear for Machu Picchu Photography
You cannot bring a full photography kit into Machu Picchu — the site has weight restrictions on bags, large tripods are not permitted, and the physical demand of the site (significant walking on uneven stone surfaces at 2,430 metres altitude) means heavy gear compounds fatigue. The following two accessories address the two most common Machu Picchu photography limitations: camera stability for long exposures and lens glare from stone surfaces.
Getting Your Camera Gear to Machu Picchu: The Logistics
The journey to Machu Picchu with camera equipment requires specific planning that differs from the standard tourist logistics. The route from Cusco involves either the Inca Trail (4 days of trekking), the Salkantay Trek (5 days), a train from Poroy or Ollantaytambo to Aguas Calientes followed by a bus up the switchback road, or the hike from Aguas Calientes directly up the mountain (2 hours, well-maintained path, saves the $30 bus fare).
For camera equipment protection on the approach: the train and bus routes are straightforward — standard camera bags or backpack camera inserts work well. For the Inca Trail or Salkantay approach, a weather-resistant camera backpack or a waterproof camera insert in your expedition pack is essential. The Inca Trail cloud forest section receives significant rainfall year-round, and camera equipment exposure to sustained rain in an unprotected bag is a real risk.
At the site entrance, bag inspection is routine — guards check for food (not allowed inside), tripods (not allowed), and alcohol. GorillaPod-style mini tripods pass inspection consistently. Camera bags and backpacks enter without issue. There is a bag storage area at the gate if you want to leave non-essential gear outside while shooting.
Best Power Banks for Andes Trekking and South America 2026
Keep your camera batteries and phone charged between Machu Picchu sessions — the complete power management guide for off-grid Andes use.
Machu Picchu Photography Permits: What You Need in 2026
Machu Picchu’s permit system changed significantly in 2021–2022 and the 2026 structure is more complex than previous systems. Understanding the current permit categories prevents arriving at the gate with the wrong ticket for your intended photography circuit.
| Circuit | Access | Best Photography Use | Availability |
|---|---|---|---|
| Circuit 1 | Lower agricultural terraces + classic view | Classic Guardian Hut shot, terrace panorama | Most available |
| Circuit 2 | Main citadel structures including Intihuatana | Temple of Three Windows, Intihuatana stone | Moderate availability |
| Circuit 3 | Lower citadel and residential zones | Intimate architectural detail, less-visited areas | Good availability |
| Circuit 4 | Full site including upper agricultural terraces | Most comprehensive — covers all key photo spots | Limited in peak season |
| Huayna Picchu Mountain | Peak ascent — limited to 400 per day total | Aerial view of entire citadel from above | Books out months ahead |
| Machu Picchu Mountain | Higher peak — less famous, more permits | Opposite angle — citadel with Huayna Picchu foreground | Available 1–4 weeks ahead |
Booking recommendation for photographers: Circuit 4 covers the most photography locations in a single permit and is the best value for a dedicated photography visit. For the classic panoramic shot plus the Intihuatana and Temple of Three Windows, Circuit 2 or Circuit 4 is required. Book through the official Peruvian Ministry of Culture portal (machupicchu.gob.pe) or through a licensed Peruvian tour operator — third-party booking platforms add fees without adding access.
Machu Picchu Photography in Wet Season vs Dry Season
The question of when to visit Machu Picchu for photography has no single correct answer — wet season and dry season produce entirely different images, and which is “better” depends entirely on what you want to photograph.
Dry season (May–September): Clear skies are the norm in the morning, the Milky Way is visible in pre-dawn conditions, and the grass on the terraces is green from the preceding wet season rains. The crowds are at their maximum — particularly June, July, and August which see the highest visitor numbers of the year. Photography is more predictable but less atmospheric. The classic postcard shots are easiest to achieve in dry season because cloud interference is lower.
Wet season (October–April): Rain is frequent — usually arriving in the afternoon and clearing overnight. Morning conditions at Machu Picchu during wet season are often clearer than the afternoon — the pattern of overnight clear skies followed by afternoon build-up means sunrise conditions are frequently good even in December and January. The cloud emergence shots that define the most atmospheric Machu Picchu images are far more common in wet season. Crowds are significantly lower. January is a partial exception — the site closes for maintenance for several weeks and permits become very limited.
Conclusion: Machu Picchu Rewards the Patient Photographer
The most extraordinary Machu Picchu photographs are not taken by the photographers with the best cameras. They are taken by photographers who woke up at 4:30 AM, arrived at the gate before the queue formed, positioned themselves on the terrace path before the light changed, and waited for the cloud to do something remarkable. Machu Picchu provides the scene. You provide the patience and the preparation.
Use this guide to plan your timing, your circuits, your camera settings, and your gear. Arrive early. Stay late. Shoot in the windows when the light is right and explore without your camera when it is not. The cloud that obscures the ruins at 9:00 AM often reveals them more dramatically at 9:20 AM than they have ever appeared in clear sky.
The companion photography guides — the Sacred Valley, Rainbow Mountain, and the Bolivian altiplano — are linked throughout this site. Everything in the Gear Lab Hub is chosen and reviewed for the specific conditions of Andes photography. Come back for Peru, come back for Bolivia. There is always another extraordinary image waiting at altitude. See you at dawn.