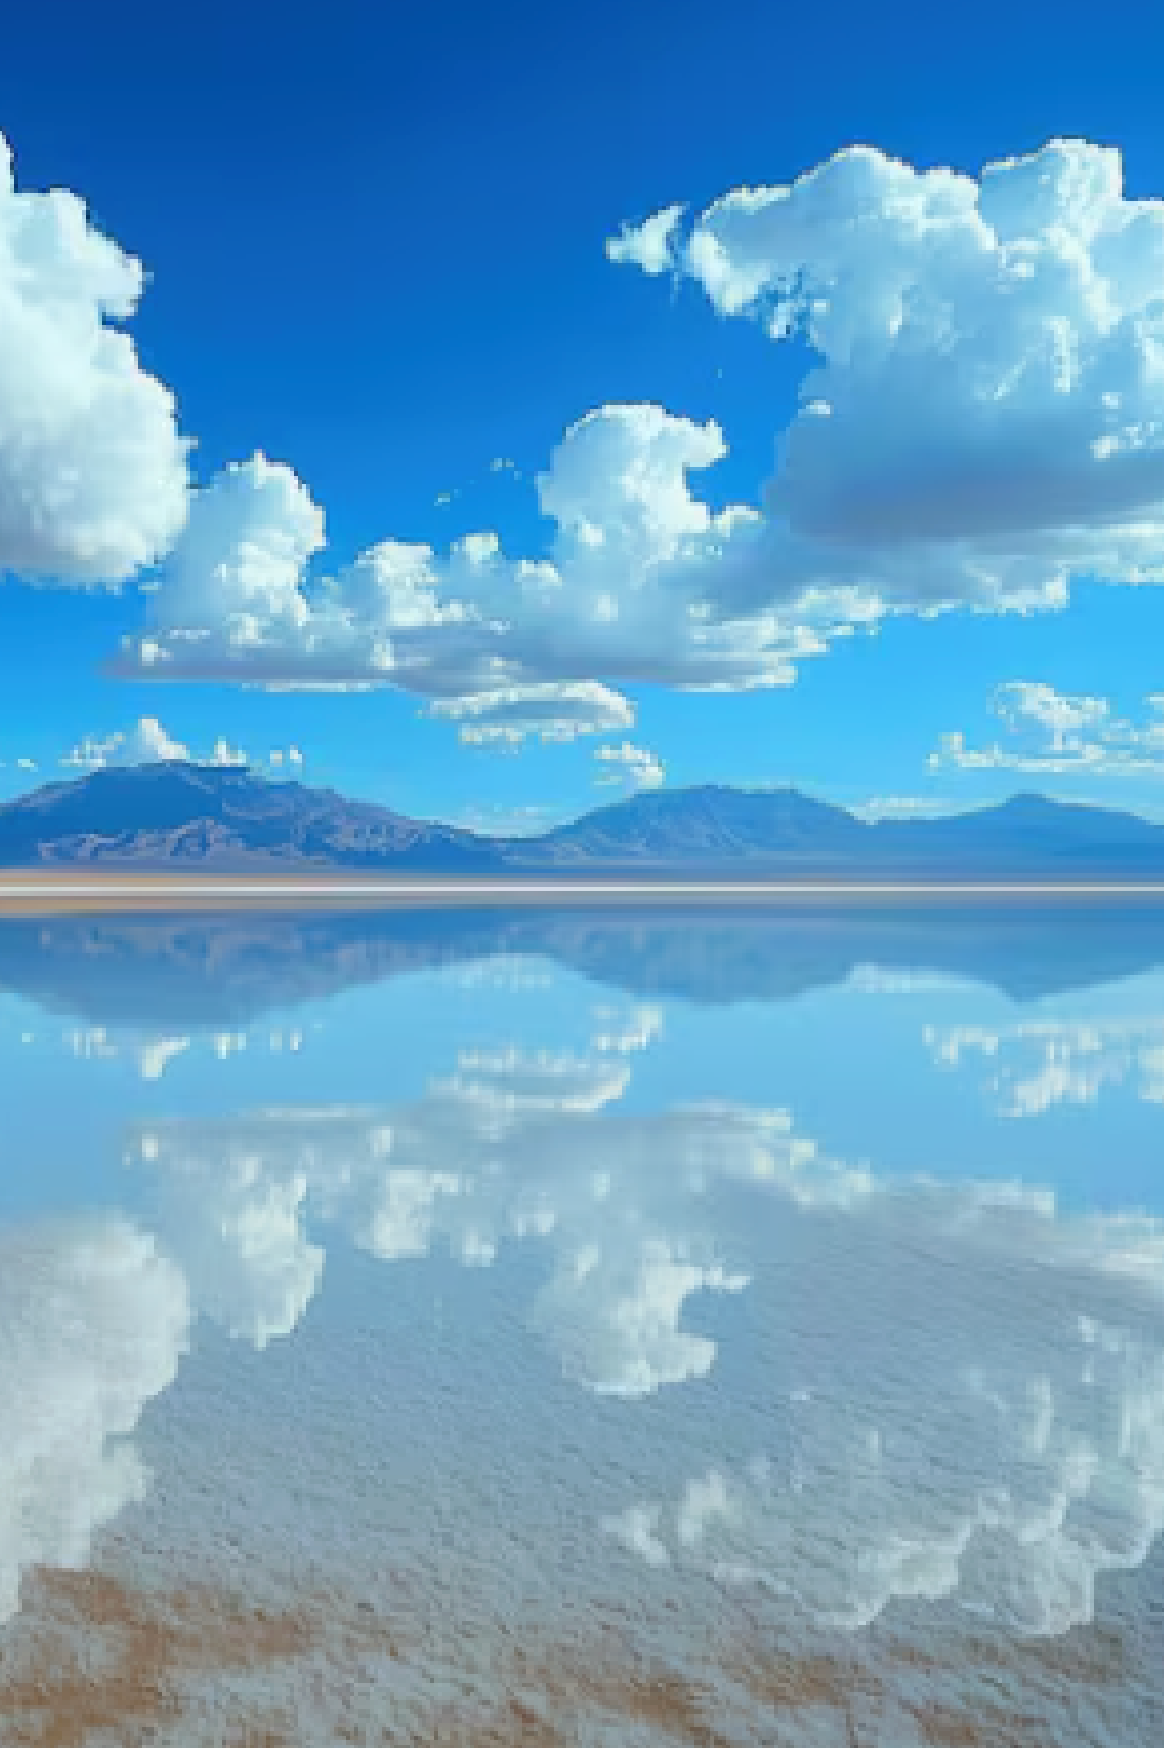

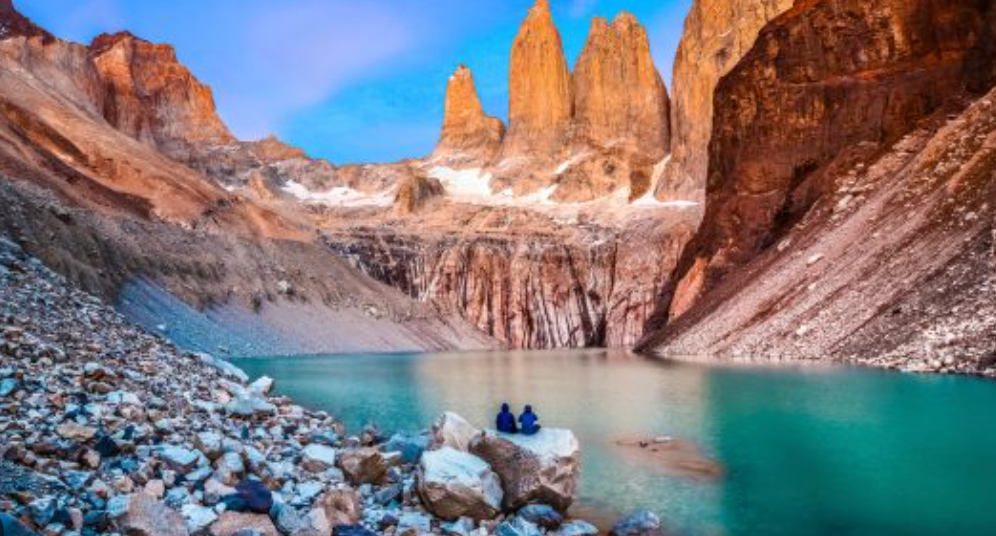
At 6:30 in the morning, the first light catches the granite towers of Torres del Paine from the east and turns them from grey to molten orange in the space of four minutes. The reflection in the lake below — Laguna Torres, a glacial tarn at the base of the three monoliths — holds the colour for another ten minutes before the wind breaks the surface and the mirror is gone. You have one shot at this. Either your alarm was set correctly, your boots were on before sunrise, and you climbed 2.5 hours in the dark to reach the viewpoint — or you missed it entirely.
Torres del Paine is the most photographed landscape in South America and one of the twenty most photographed natural sites on Earth. That recognition is deserved. The granite towers — three vertical monoliths rising 2,500 metres above the Patagonian steppe — are geologically unique and visually extraordinary. The wildlife is approachable in a way that no other major Patagonian destination offers: pumas patrol the grasslands openly, guanacos graze within camera range, Andean condors soar on thermals above the glaciers.
This is the complete photography guide to Torres del Paine National Park in 2026 — the best spots, optimal light windows, wildlife photography strategy, the W Circuit for photographers, and the essential gear that makes Patagonian camera work possible in conditions where equipment failure is not an option.
Best Waterproof Hiking Boots for Patagonia 2026
The boots that carry you 79 km of W Circuit terrain — waterproof, ankle-supported, and tested for Torres del Paine conditions.
Understanding Patagonian Light: Why Torres del Paine Is Different From Every Other Landscape
Patagonian light at latitude 51 degrees south behaves differently from the light that most photographers have trained on. The sun arc is low and extended — in summer (December–February), the sun rises at approximately 5:00 AM and sets after 10:00 PM, meaning golden hour is not a 30-minute window but an extended 2–3 hour period of warm, directional light in the morning and again in the evening. Midday is relatively flat and should be used for hiking, not photography.
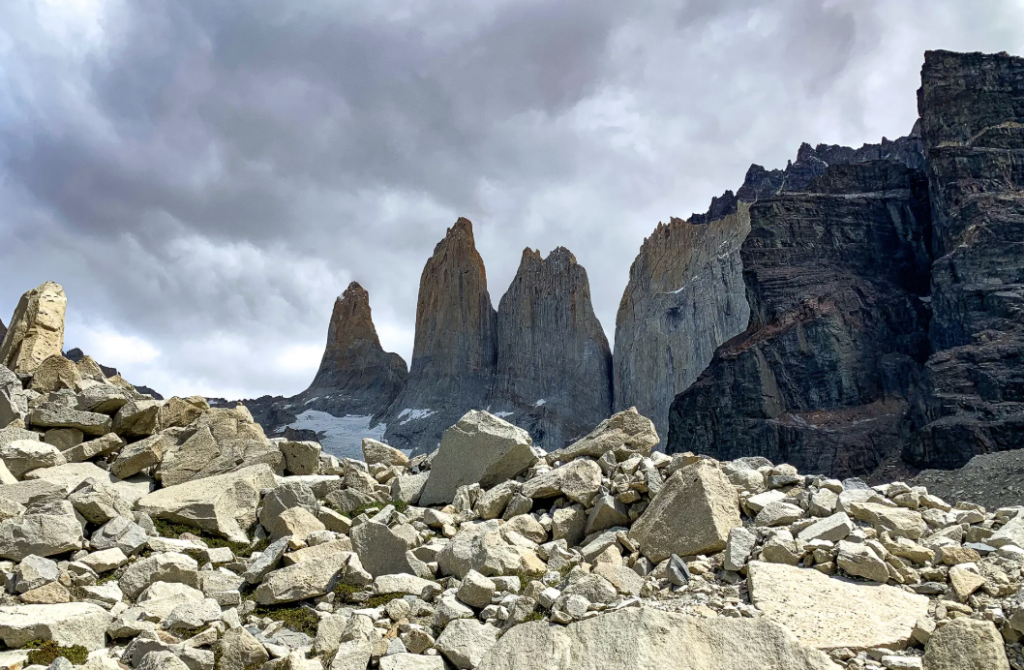
The second defining characteristic of Patagonian light is its drama under weather. The rapid weather cycles — a storm front can arrive, deliver rain, clear, and deliver sunshine within 90 minutes — create lighting conditions that shift from flat overcast to extraordinary side-lit clearing shots in minutes. Photographers who keep their cameras packed during “bad” weather miss the most extraordinary images Torres del Paine produces.
The golden hours at 51 degrees south
At Torres del Paine’s latitude, the summer sun rises in the southeast and sets in the southwest — a wide, low arc that produces warm directional light for extended periods at both ends of the day. The towers themselves face east, which means they are front-lit at sunrise (the classic shot) and back-lit by late afternoon when the sun has moved behind them. For the iconic towers-reflection shot at Laguna Torres, sunrise is the only viable window. For the Los Cuernos peaks on the south side of the massif, late afternoon produces front-lighting from the west.
Weather as a photographic asset
Patagonian weather is famously severe — sustained winds exceeding 100 km/h, horizontal rain, and hail arriving with minimal warning. Most photographers treat this as an obstacle. The photographers who make the most interesting Torres del Paine images treat it as a compositional element. A clearing storm behind the towers, with dark cloud breaking to reveal the granite in dramatic sidelight, produces images impossible to create in stable conditions. Rain on the grassland with guanacos in the foreground and the towers emerging from cloud behind — this requires bad weather and patience, not sunshine.
| Light Condition | When It Occurs | Photography Value | Best Subject |
|---|---|---|---|
| Sunrise golden light | 5:00–7:00 AM (Dec–Feb) | Exceptional — warm, directional | Laguna Torres reflection, Mirador Las Torres |
| Post-storm clearing | Any time — unpredictable | Extraordinary — dramatic sidelight | Towers against dark cloud, condors on thermals |
| Overcast flat light | Common in shoulder season | Good for wildlife — no harsh shadows | Pumas, guanacos, foxes — even illumination |
| Late afternoon golden | 8:00–10:00 PM (Dec–Feb) | Excellent — Los Cuernos front-lit | Los Cuernos from Lago Pehoe, condors |
| Blue hour after sunset | 10:00–10:30 PM (Dec–Feb) | Outstanding for still water | Lago Grey reflection, refugio lights |
| Fog and cloud | Morning near glaciers | Atmospheric — unique to Patagonia | Grey Glacier, lake surfaces, forest edges |
The 7 Best Photography Spots in Torres del Paine
1. Mirador Las Torres — the defining image
The base of the three towers is reached by a 2.5-hour hike from Refugio Las Torres, gaining approximately 700 metres of elevation on a well-marked trail that becomes steep and rocky in the final 45 minutes. The viewpoint is a glacial moraine above Laguna Torres — a small teal lake at the base of the vertical granite faces. The photography here requires arriving at the viewpoint 30–45 minutes before sunrise to allow time to find your composition before the light changes. A 24–35mm focal length captures all three towers and their reflection simultaneously. A 50–85mm compresses the towers against the lake surface for a tighter, more graphic composition. Bring a tripod or GorillaPod — the pre-dawn light requires 5–30 second exposures.
2. Los Cuernos from Lago Pehoe
Los Cuernos — the Horns — are the dark-capped granite peaks on the southern face of the massif, their distinctive black sedimentary caps contrasting with the pale granite beneath. The best photograph of Los Cuernos is from the shore of Lago Pehoe, where a calm morning or evening produces a mirror reflection of the peaks in the lake’s turquoise water. This viewpoint is accessible by road from the park entrance — no trekking required — making it the most accessible major landscape shot in the park. Late afternoon golden light (8:00–10:00 PM in summer) front-lights the Cuernos from the west for their best colour.
3. Grey Glacier and Lago Grey
Grey Glacier is one of the largest non-polar glaciers accessible on foot — it calves icebergs directly into Lago Grey, and the floating blue-white ice against the glacier face and the Torres massif behind it is one of the most distinctive Patagonia compositions. Photograph from the lakeshore near Refugio Grey for the widest view, or take the Grey Glacier boat tour for close-approach shots of the 30-metre ice face. Morning light illuminates the glacier from the east; overcast conditions actually photograph the blue ice tones better than direct sun, which bleaches the colour.
4. Valle del Frances viewpoints
The Valle del Frances — the central arm of the W Circuit — is photographically the most dramatic valley in the park. The upper viewpoint (Mirador Britanico, 2.5 hours from the valley floor) looks directly at the hanging glacier of Monte Balmaceda and the distinctive rock face of Paine Grande. The valley itself is framed by rock walls on both sides, creating a compressed canyon composition that is unique in the park. Afternoon light works best in this valley — the west-facing walls are front-lit by the setting sun while the east walls remain in shadow, creating a dramatic split-light composition.
5. Lago Sarmiento and the early morning steppe
Lago Sarmiento near the park’s eastern entrance is one of the most overlooked photography locations in Torres del Paine. The turquoise lake, bordered by calcium carbonate formations (thrombolites — living microbial mats similar to stromatolites) and backed by the distant towers, photographs beautifully in the first hour of morning light. The steppe grassland between the entrance and the main massif is the best area for guanaco photography — herds of 20–50 individuals are commonly seen in early morning as the park road enters the main valley.
6. Lago Nordenskjold shoreline
The southern shore of Lago Nordenskjold runs alongside the main trail between Refugio Chileno and Refugio Los Cuernos. The lake’s turquoise colour — caused by glacial flour suspended in the water — against the grass and scrub of the foreshore creates vivid foreground-to-background compositions with the massif rising behind. Late afternoon light on this stretch creates the best colour contrast. The trail section above the lake (the high route option between the two refugios) offers elevated perspectives across the full lake surface with the massif in the background.
7. Puma territory — the open grassland near Laguna Azul
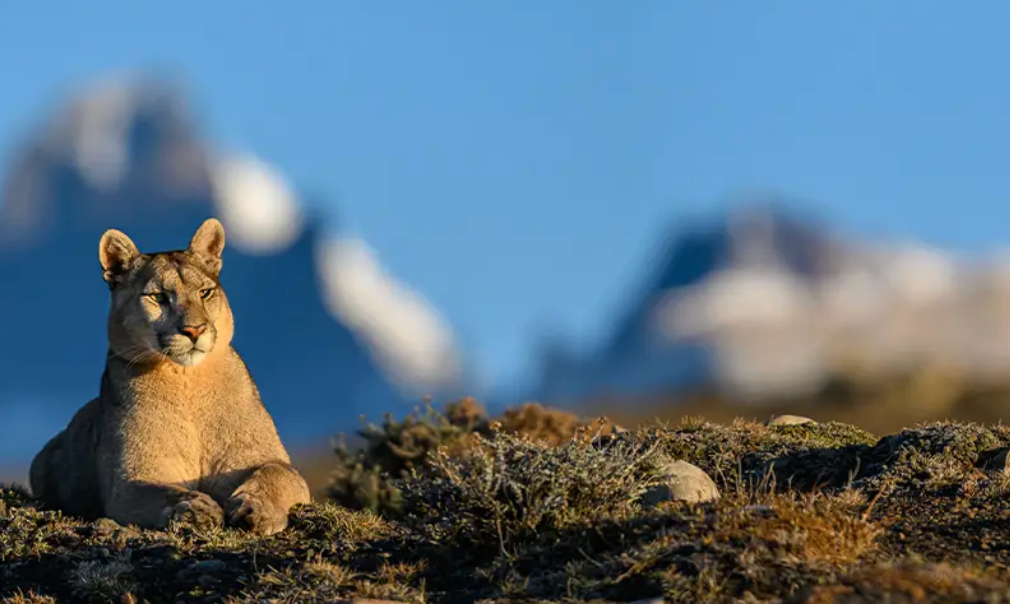
Torres del Paine has the highest density of wild pumas of any accessible national park in the world. The open grassland in the northeast sector of the park — around Laguna Azul and the northern entrance road — is where pumas hunt guanacos and are most regularly sighted by visitors. Puma sightings in this sector are reported daily during peak season (October–April). Early morning (5:30–7:30 AM) and late afternoon (6:00–9:00 PM) are peak activity windows. A 300–500mm telephoto lens is required for photography at safe distances — pumas are habituated to vehicles and can sometimes be approached slowly in a car to within 30–50 metres, but on foot, maintain a minimum 50-metre distance.
Wildlife Photography in Torres del Paine: Pumas, Condors, and Guanacos
Torres del Paine offers the most accessible large-predator wildlife photography in South America. The park’s puma population — estimated at 30–40 individuals — is habituated to human presence in vehicles and is regularly photographed at close range. This is not a guarantee of a sighting, but it is the best odds available anywhere in the Americas for puma photography outside of a zoo environment.
Puma photography strategy
Hire a specialist puma guide for at least one day of your Torres del Paine visit. These guides — there are several operating out of Puerto Natales with local knowledge built over years of daily park visits — track puma movement patterns and know which territories are currently active. A specialist guide increases sighting probability from approximately 30–40% (for self-guided visitors) to 70–85% on a full-day guided session. Camera settings for puma photography: ISO 800–2000 (early morning and late afternoon light is low), aperture f/4–f/5.6 for background separation, shutter speed 1/500–1/1000 to freeze puma movement. A 200–500mm telephoto is the minimum useful focal length.
Andean condor photography
Andean condors — with a wingspan reaching 3.2 metres, the largest flying land bird on Earth — are a permanent resident of Torres del Paine. They soar on thermals above the valley walls throughout the day, particularly in the afternoon when solar heating creates strong rising air currents. Photograph from elevated positions (the Valle del Frances upper viewpoints, the Mirador Las Torres approach trail) where you can shoot condors at eye level or slightly below, rather than looking up from the valley floor. A 300–500mm telephoto with a monopod for stability is the right kit. Condors are slow-flyers — 1/1000 is sufficient shutter speed for sharp flight shots.
Guanaco and foxes
Guanacos are the park’s most abundant large mammal and among the most photogenic — their reddish-brown coats against the golden Patagonian steppe grass and the grey-blue towers backdrop create natural compositions. Approach slowly on foot or from a stationary vehicle; guanacos are not highly alarmed by patient photographers and allow closer approach than most wild ungulates. Grey foxes are equally approachable near the refugios, where they have become habituated to human presence, and make excellent subjects with a 100–300mm lens at close range.
Essential Photography Gear for Patagonian Conditions
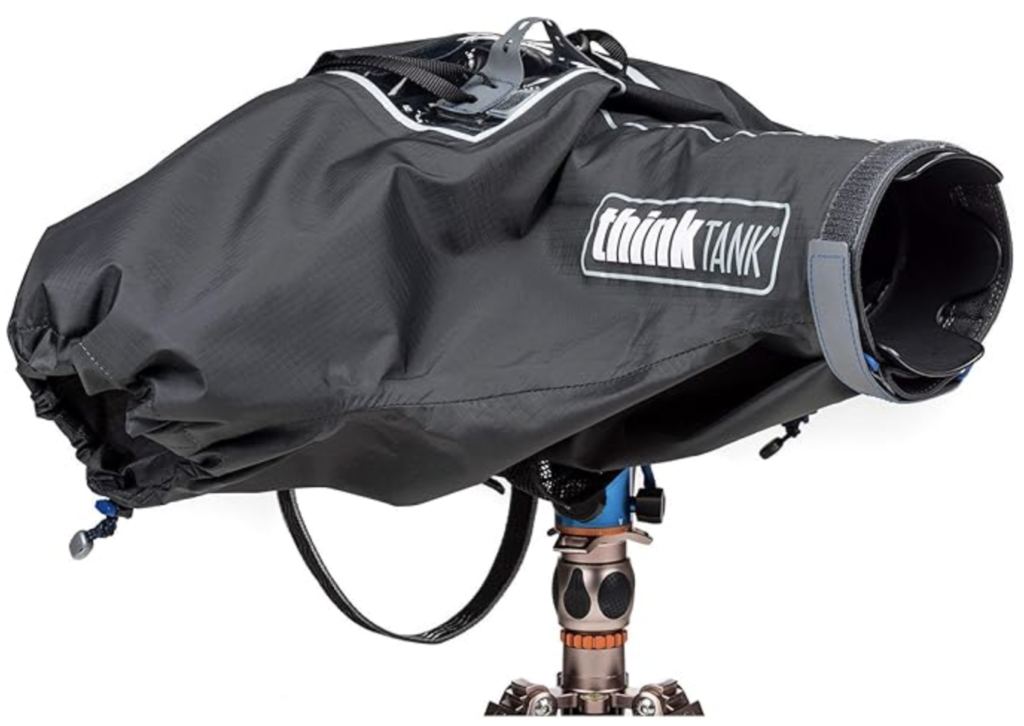
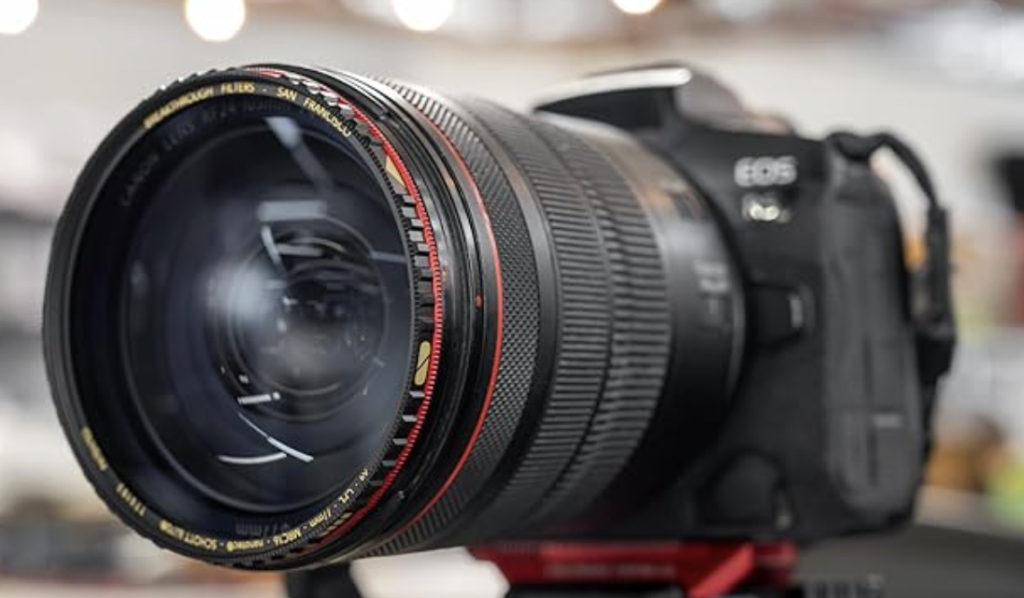
Patagonia’s weather is the most demanding photographic environment covered in any guide on this site. The combination of horizontal rain, sustained 80–100 km/h wind, and rapid temperature changes creates conditions that destroy unprepared camera equipment and make shooting without the right accessories genuinely difficult. Two pieces of equipment address the most critical challenges directly.
The W Circuit as a Photography Itinerary
The W Circuit — 79 km over 4–5 days — covers three of the park’s most distinctive landscapes: the base of the towers (Mirador Las Torres), the central valley (Valle del Frances), and the glacier (Grey Glacier and Lago Grey). For photographers, the circuit is both an opportunity and a logistical challenge: carrying camera gear adds weight to an already demanding pack, and the best photography moments require stopping, setting up, and waiting in a way that does not fit a rigid hiking schedule.
The table
| Day | Section | Distance | Key Photography | Best Light Window |
|---|---|---|---|---|
| Day 1 | Arrive — Refugio Las Torres | Transfer day | Lago Sarmiento, guanacos on steppe | Late afternoon — golden light on steppe |
| Day 2 | Mirador Las Torres (return) | ~9 km up, 9 km return | Sunrise towers reflection, Laguna Torres | Pre-dawn departure — 3:30 AM from refugio |
| Day 3 | Las Torres to Los Cuernos | ~11 km | Lago Nordenskjold shoreline, Los Cuernos | Early morning + late afternoon |
| Day 4 | Valle del Frances (return) | ~12 km return | Hanging glacier, valley walls, condors | Afternoon — valley walls front-lit |
| Day 5 | Los Cuernos to Grey Glacier | ~11 km | Grey Glacier ice, Lago Grey | Morning — glacier in east light, blue ice |
| Day 6 | Grey Glacier to Puerto Natales | Exit day | Final Los Cuernos from Lago Pehoe | Late afternoon — classic reflection shot |
Book the Mirador Las Torres pre-dawn hike for your second full day
Your first day in the park will involve acclimatisation to the distances and terrain. Attempting the pre-dawn towers hike on Day 1 after a long travel day from Puerto Natales typically results in arriving late, tired, and missing the light window. On Day 2, when you know the trail and have slept a full night at altitude, the 3:30 AM departure for the 2.5-hour ascent becomes manageable and the payoff — sunrise over the towers reflection — is the photograph of a lifetime.
Best Power Banks for Andes Trekking and South America 2026
Keep your camera and phone charged across 5+ days of W Circuit with no reliable power infrastructure.
Torres del Paine Season Guide for Photographers
Every season in Torres del Paine offers something photographically distinct. The conventional wisdom — visit in summer for good weather — is partly correct but misses the most atmospheric photography windows.
Summer (December–February): The longest days, most stable weather, and highest visitor numbers. The 19-hour days mean the golden light windows are enormous — 5:00–7:00 AM and 8:00–10:00 PM. The guanaco herds have new-born young in November–December, making family group photography exceptional. The downside: peak season crowds at Mirador Las Torres mean the viewpoint can have 50+ photographers at sunrise. Book the earliest possible entry slot.
Shoulder spring (October–November): The wildflowers bloom across the steppe in October, adding colour to the grassland compositions. Fewer visitors mean more freedom at viewpoints. Weather is less stable than summer but more dramatic — the post-storm clearing shots that produce the most extraordinary images are more frequent in shoulder season.
Autumn (March–April): The lenga beech trees turn gold and orange across the valley floors in late March–April, adding extraordinary warm tones to landscape compositions that are purely cool-toned (granite grey, lake turquoise, steppe brown) in summer. Autumn light in Patagonia is considered by many professional landscape photographers to be the best season. Crowds drop to 30–40% of summer levels.
Winter (June–August): The circuit partially closes, wind speeds exceed 100 km/h, and temperatures drop to -10°C at night. Photography is possible for experienced cold-weather operators — the snow-covered towers and the solitude are extraordinary. Very few visitors.
Conclusion: Torres del Paine Gives You Everything — if You Show Up Ready
Every photographer who has stood at Mirador Las Torres at 6:47 AM in February, watching the first orange light touch the three granite spires and double in the still water below, understands immediately why this place has the reputation it has. There is nothing else like it. The granite is unique. The scale is unique. The combination of high-latitude light, glacial water colour, and mountains rising 2,500 metres in a single vertical face is found nowhere else on the planet in this combination.
But Torres del Paine rewards preparation in a way that few destinations do. The pre-dawn alarm, the pack ready the night before, the rain cover in the hip belt pocket, the telephoto charged and mounted for the puma territory drive — these are the differences between the photograph you came for and the photograph you could have taken. This guide gives you the framework. The rest is the alarm clock.
The full Patagonia photography guide continues with Fitz Roy, the Carretera Austral, and Tierra del Fuego — the linked article covers the broader southern Andes landscape beyond Torres del Paine. The Gear Lab Hub covers every piece of equipment you need for Patagonian photography in detail. The itinerary is planned. See you at the towers at dawn.