
At 4,630 metres on the Salkantay Pass, the temperature dropped 11°C in the 40 minutes it took to ascend the final approach. The trekker in front of me was wearing a cotton hoodie. The guide — a man who has crossed that pass several hundred times — was wearing a 60g down hoody that packed to the size of a baseball. The cotton hoodie was soaked through before we reached the top. The down hoody was inside a waterproof shell, dry and effective, and came off the moment we started the descent and the exertion heat began building again. That is the difference an insulation jacket makes on an Andes trek.
The insulation jacket is the warmth layer in the three-layer system — it sits between your moisture-wicking base layer and your windproof or waterproof outer shell. Its job is simple: trap warm air close to your body when you are not generating enough body heat through movement to stay warm unaided. On an Andes trek, that moment comes at every summit, every lunch stop, every morning start, and every evening at camp. It comes earlier at altitude than at sea level, and it lasts longer when the wind is blowing.
This guide covers the best insulation jackets for Andes and Patagonia trekking in 2026: down fill vs synthetic, packability vs warmth, and the specific conditions that determine which jacket is right for your route. Every recommendation includes an Amazon link with my affiliate code.
Down vs Synthetic Insulation: The Critical Choice for Andes and Patagonia
The choice between down and synthetic insulation is the most important decision in the insulation jacket category — and it depends almost entirely on the weather conditions of your specific route, not on price or performance in isolation. Both materials have significant advantages; neither is universally superior.
Down insulation
Down insulation — clusters of goose or duck underfeathers — provides the best warmth-to-weight ratio of any natural or synthetic insulation material. A 700-fill-power down jacket weighing 250g will outperform a 300g synthetic jacket in warmth for that weight. Down also compresses more completely, packing to smaller volumes for equivalent warmth. The critical weakness: down loses its insulating properties almost entirely when wet. A down jacket soaked in rain or with a damp base layer beneath it has approximately 20–30% of its dry insulating effectiveness. In the Bolivian altiplano (dry season, very low humidity) and on the Inca Trail in dry season, this is not a problem. In Patagonia or on the Inca Trail during wet season, it is a significant one.
Synthetic insulation
Synthetic insulation (PrimaLoft, Thermoball, Polartec Alpha) is made from engineered polyester fibres designed to mimic the loft of down while retaining warmth when wet. A wet synthetic jacket retains 60–80% of its dry insulating effectiveness — a fundamental difference from down. Synthetic is also less expensive, hypoallergenic, and easier to wash. The drawbacks: heavier than equivalent-warmth down, does not compress as well, and loses loft faster over years of use. For Patagonia trekking — where rain is a near-daily certainty — synthetic insulation is the more pragmatic choice.
| Property | Down (700–900 fill) | Synthetic (PrimaLoft/Thermoball) | Best For |
|---|---|---|---|
| Warmth-to-weight | Best — 250g jacket covers -5°C to -15°C | Good — needs 300–400g for equivalent warmth | Down for dry conditions |
| Wet performance | Poor — loses 70–80% warmth when wet | Good — retains 60–80% warmth when wet | Synthetic for Patagonia/wet season |
| Packability | Excellent — fits in fist | Good — larger than down | Down for ultralight/travel |
| Price | Higher — $180–$400 | Lower — $120–$280 | Synthetic for budget |
| Durability | Excellent — 10+ years with care | Good — loft reduces after 5–7 years | Down for long-term investment |
| Drying time | Very slow when wet | Fast | Synthetic for rainy conditions |
| Best Andes route | Bolivia altiplano, dry-season Peru | Patagonia, wet-season Inca Trail | Route-dependent |
Best Waterproof Hiking Boots for Patagonia 2026
The footwear guide for the same conditions this jacket faces — wet, cold, windy Patagonia.
Understanding Fill Power: What the Numbers Actually Mean for Andes Trekking
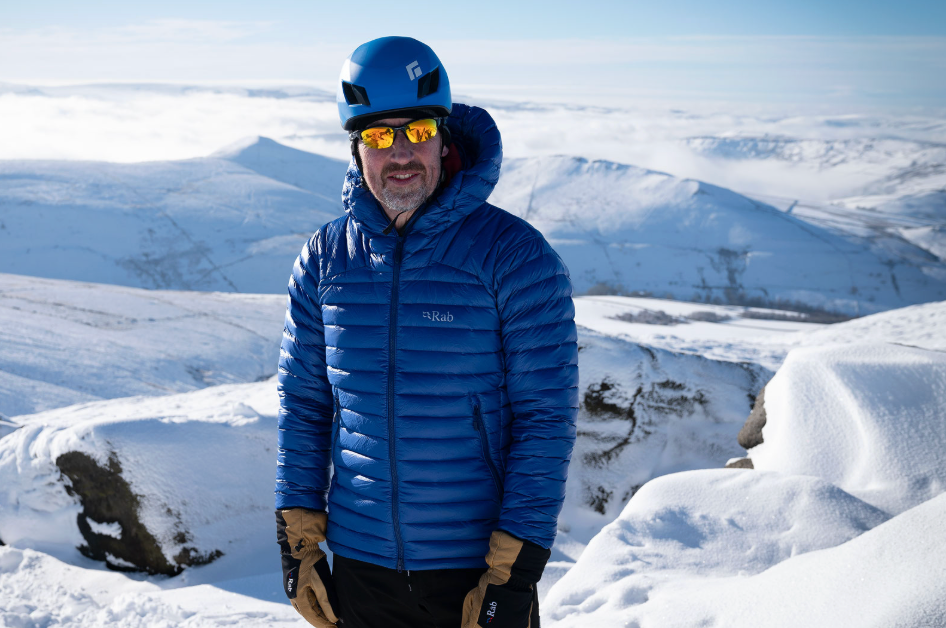
Fill power is the volumetric measurement of down quality — specifically, how many cubic inches one ounce of down occupies when allowed to loft freely. Higher fill power means more air-trapping loft per gram of down, which translates to better warmth-to-weight ratio. The numbers commonly seen in trekking jackets range from 550 to 900 fill power.
550–650 fill power: Entry-level down. Heavier for equivalent warmth, less packable. Used in budget down jackets and heavy winter sleeping bags. Acceptable for Andes use but not the optimal choice for weight-conscious trekkers.
700–750 fill power: The performance benchmark for trekking use. Most of the jackets in this guide use 700–750 fill power — the sweet spot between warmth, weight, packability, and price. A 700-fill jacket in the 200–280g range covers temperatures from -5°C to -15°C when used as a mid-layer under a shell.
800–900 fill power: Premium down used in the lightest, most packable jackets. The Arc’teryx Cerium SL and Rab Microlight Alpine at this fill power level weigh under 200g while providing genuine sub-zero warmth. The premium is significant — these jackets cost $300–$450 — but for trekkers who count every gram and carry their jacket on every single day, the weight savings compound meaningfully over a multi-week trip.
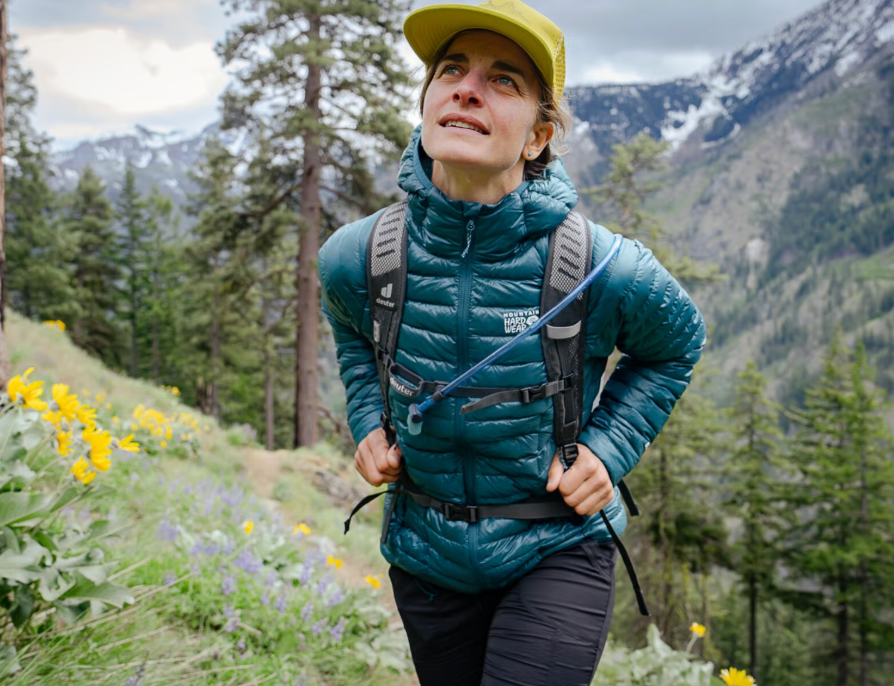
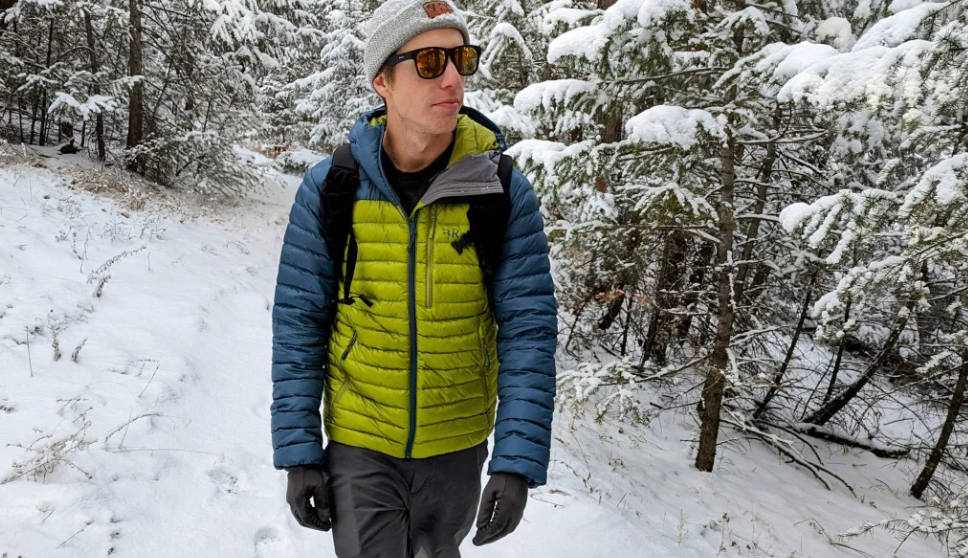
The 6 Best Insulation Jackets for Andes and Patagonia Trekking 2026
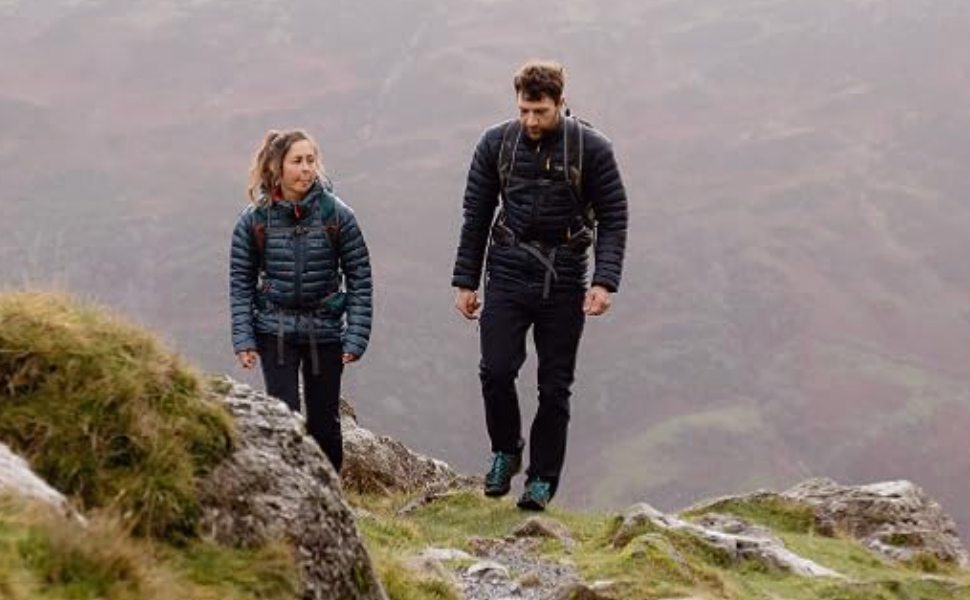
When to Wear Your Insulation Jacket on the Trail: The Andes-Specific Protocol
The most common insulation jacket mistake on Andes treks is wearing it during ascent. At altitude, your body generates significantly more heat than you expect relative to the apparent physical effort. Wearing a down jacket during a sustained uphill causes heavy sweating that saturates the base layer and — critically — transfers moisture to the down fill, reducing its insulating effectiveness precisely when you need it most: at the summit.
The correct protocol: Pack your insulation jacket at the top of your pack or in a hip-belt pocket, accessible within 30 seconds. On ascents above 3,500 metres, trek in your base layer and a light wind layer only — let your body heat work for you. As soon as you stop — at a summit, a viewpoint, a lunch break — put your insulation jacket on before you feel cold, not after. The 2–3 minutes it takes to feel cold after stopping at altitude is the window where heat loss is most rapid; covering it proactively prevents the deep chill that takes 20–30 minutes of renewed effort to recover from.
The belay jacket system: Experienced mountaineers and altitude guides use a system called the “belay jacket” — an extra warm insulation layer that only comes out during full stops and goes back in the pack immediately on movement. On a multi-day Andes trek, your down or synthetic jacket functions exactly this way. If you find yourself wearing your insulation jacket while moving uphill and sweating through it, that is the signal to adjust — remove it before the next uphill section regardless of the ambient temperature.
| Situation | What to Wear | Why |
|---|---|---|
| Sustained uphill ascent above 3500m | Base layer + wind/shell layer | Body heat keeps you warm; insulation causes overheating and sweat |
| Summit stop / col crossing | Base + insulation + shell over top | Wind chill at summits is extreme; put on jacket before feeling cold |
| Lunch break (30+ min) | Base + insulation — shell if wind | Rapid heat loss on extended stop at altitude |
| Morning start (pre-dawn) | Base + insulation + shell | Coldest point of day; insulation kept on until body heat builds |
| Evening camp above 3500m | Base + insulation — add extra layer if needed | Temperatures drop rapidly after sunset at altitude |
| Rain with moderate exertion | Base + synthetic insulation + waterproof shell | Synthetic retains warmth when wet; down should stay dry in pack |
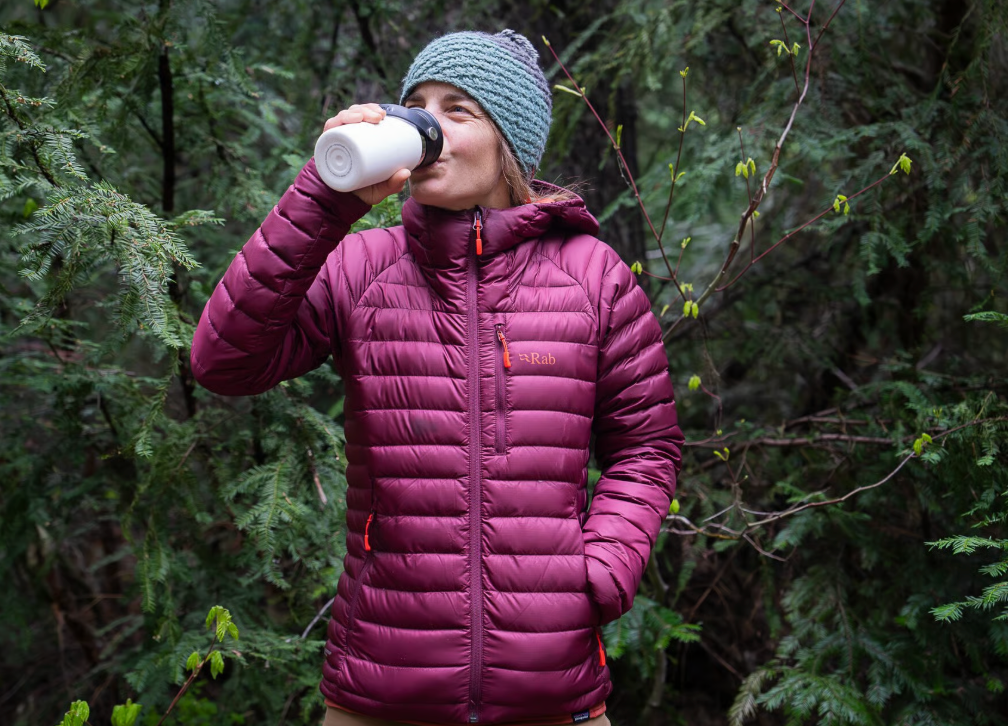
Caring for Your Down Jacket on a Long South America Trip
Down jackets require specific care to maintain loft — the measure of the down’s ability to trap air and insulate. Compressed down (from being stuffed in a pack for weeks), damp down (from sweat transfer or rain exposure), and dirty down (from sustained use) all lose loft and therefore warmth. Understanding how to restore and maintain loft on the trail keeps your jacket performing as intended.
Daily loft restoration:
After a day of being stuffed in your pack, shake your down jacket vigorously for 20–30 seconds when you unpack it in camp. This redistributes the down clusters back to their natural loft position. A jacket that has been compressed for 8 hours and is shaken out before wearing is significantly warmer than one worn immediately from the stuff sack.
Damp down recovery:
If your down jacket has become damp from sweat transfer through a base layer, spread it fully open and allow it to air dry before re-packing. In camp, hang it from a ridgeline or tent guyline with full surface exposure for 30–45 minutes. At altitude in dry conditions (the Bolivian altiplano, the Salkantay above the cloud forest zone), down dries quickly. In humid cloud forest conditions, this is more difficult — prioritise keeping the jacket in its stuff sack when not in use to minimise humidity absorption.
Washing on a long trip:
A down jacket worn daily for 2–3 weeks accumulates body oils and dirt that gradually reduce loft. In Cusco, La Paz, or Buenos Aires, hand wash in cold water with a specialist down wash (Nikwax Down Wash) or use a laundromat machine on the delicate cycle at 30°C maximum. Tumble dry on the lowest heat setting with 3–4 clean tennis balls to break up clumped down clusters as they dry. Never hang a wet down jacket to dry — the weight of the wet down clusters tears the baffles. Lay it flat if tumble drying is not available.
Best Base Layers for High-Altitude Andes Trekking 2026
The companion guide to this article — what to wear against your skin underneath the insulation jacket, and why the base layer determines how well the insulation performs.
Insulation Jacket Layering: What Goes Over and Under in Andean Conditions
An insulation jacket functions as the middle layer in a three-piece system. Its performance depends not only on its own properties but on how well it interfaces with the layers above and below it.
What goes under the insulation jacket
A dry base layer is the essential prerequisite. Down insulation does not work properly over a damp base layer — moisture from the base layer transfers to the down clusters and reduces loft. On the ascent, trek in base layer plus a light windproof layer, keeping the insulation packed. At stops, ensure the base layer is not saturated before putting on the down jacket. If the base layer is damp, a synthetic insulation jacket (Nano Puff, Powder Lite) is more forgiving — it maintains warmth even over a damp base layer.
What goes over the insulation jacket
A waterproof-breathable shell is the standard outer layer for Andes and Patagonia conditions. The shell prevents rain from reaching and saturating the down fill. It also provides windproofing that multiplies the insulation jacket’s warmth significantly — a down jacket that provides 10°C of warmth protection in still air provides 15–18°C of warmth protection inside a windproof shell because it eliminates convective heat loss through the insulation.
Sizing note: buy your insulation jacket in your normal size if you plan to wear it alone or under a shell in your normal size. If you are buying a shell specifically to wear over this jacket, buy the shell one size up from your normal fit — the base layer plus insulation layer adds approximately one size of circumference bulk that most shells do not account for in standard sizing.
Best Expedition Backpacks for Andes Trekking 2026
The pack that carries your insulation jacket — how to pack a 65L expedition pack for multi-day altitude use with the layering system accessible at the top.
Packing Your Insulation Jacket: Volume, Weight, and Accessibility
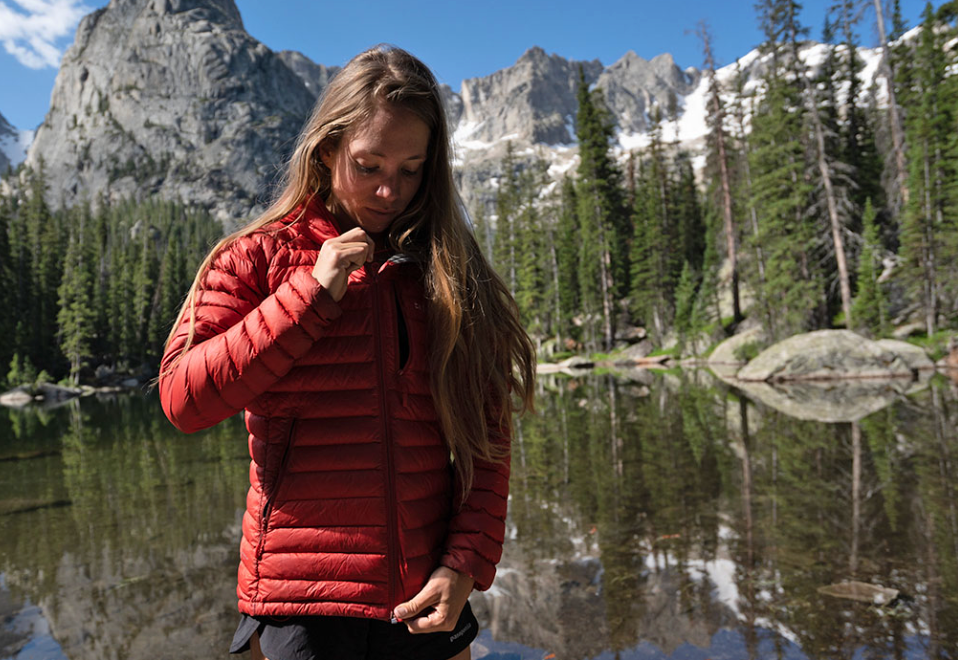
The insulation jacket is the one piece of clothing gear that benefits most from strategic placement in your pack. It needs to be accessible within 30 seconds at any point on the trail — not buried under two days of food and a sleeping bag at the bottom of a 65L expedition pack. The setup that experienced Andes trekkers use most consistently: the insulation jacket lives in a top lid pocket, a hip belt pocket, or at the very top of the main compartment under the rain cover, accessible without unpacking anything else.
Down jackets that stuff into their own chest pocket — the Patagonia Down Sweater, the Arc’teryx Cerium SL, and the Black Diamond Access Down all do this — provide the most accessible storage: compressed to baseball size in the hip belt pocket, pulled out and on in under 20 seconds at a summit stop.
Weight comparison for context: The range of jackets in this guide spans 185g (Arc’teryx Cerium SL) to 450g (Columbia Powder Lite). The 265g difference is measurable in a pack — experienced Andes trekkers count grams because every extra 100g on a 5-day 65L pack means additional fatigue at altitude. If you are already carrying a full camera system, expedition boots, and the clothing layers required for the Salkantay Pass, the lightweight down premium is justified by the compounding weight savings over the duration of the trek.
Conclusion: The Layer That Separates a Good Trek From an Extraordinary One
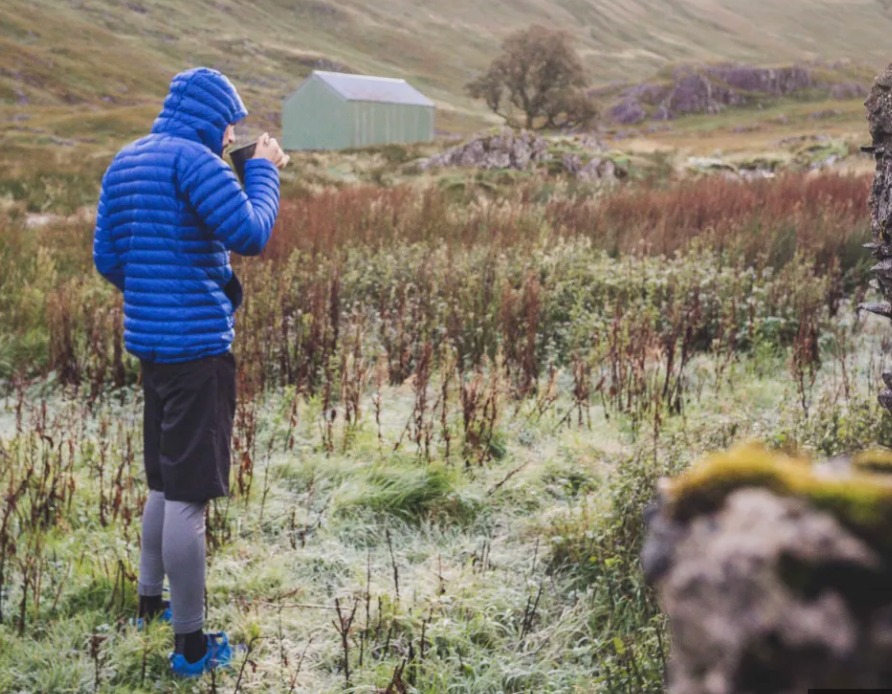
The trekker in the cotton hoodie on the Salkantay Pass made it to the top. He was cold, wet, and miserable for the final 40 minutes of the ascent, and even colder on the descent until the elevation dropped enough for temperatures to normalise. He had an extraordinary experience despite the jacket, not because of it. Your insulation jacket should be invisible — doing its job so reliably that you do not think about it.
A 270g down jacket worn at every summit stop on the Inca Trail takes up less space than a paperback book and adds less weight than a litre of water. A 340g synthetic jacket on the Patagonia W Circuit means warm, dry evenings at the refugio and comfortable morning starts regardless of what the weather delivered during the day. These are not luxuries. They are the difference between trekking and enduring.
The full Gear Lab Hub at Uncover the Andes covers every layer of the system — base layers, insulation jackets, trekking boots, expedition packs, and the destination guides for every major Andes and Patagonia route. Everything is linked. Everything is built around the same principle: the gear should serve the experience, not distract from it. See you at the top of the pass.